How to remove a dent (Part 5)
Taking out a massive 30 plus year old dent in a left rear quarter of a 1957 Porsche Speedster. ( see parts 1 through parts 4 below in my earlier posts, lots of great information and pictures if you scroll down and let them show up)
At my February coachbuilding class I had a chance to do some more work on the 1957 Porsche Speedster rear body cowl dent repair. As part of the class in addition to teaching how to make panels and tig weld them together I also demonstrate techniques I have developed using a slapper, dolly, and a shrinking disc to remove dents in sheet metal so only primer is needed after the job is completed. When I last worked on the panel I had roughed out the massive dent and then concentrated on finishing the left side of the dent, leaving the roughed out side as a visual contrast. At the class I finished smoothing the left forward side of the dent. Check out the progress pictures. I will continue to use this rear body shroud as a teaching example until it is totally smooth. It will be as good as factory condition or better when finished. After I smooth it I will capture the surface information so I can make copies of it. Wray – I sell my smooth and safe style shrinking discs in the tool section, the combo also has my DVD explaining the whole process.
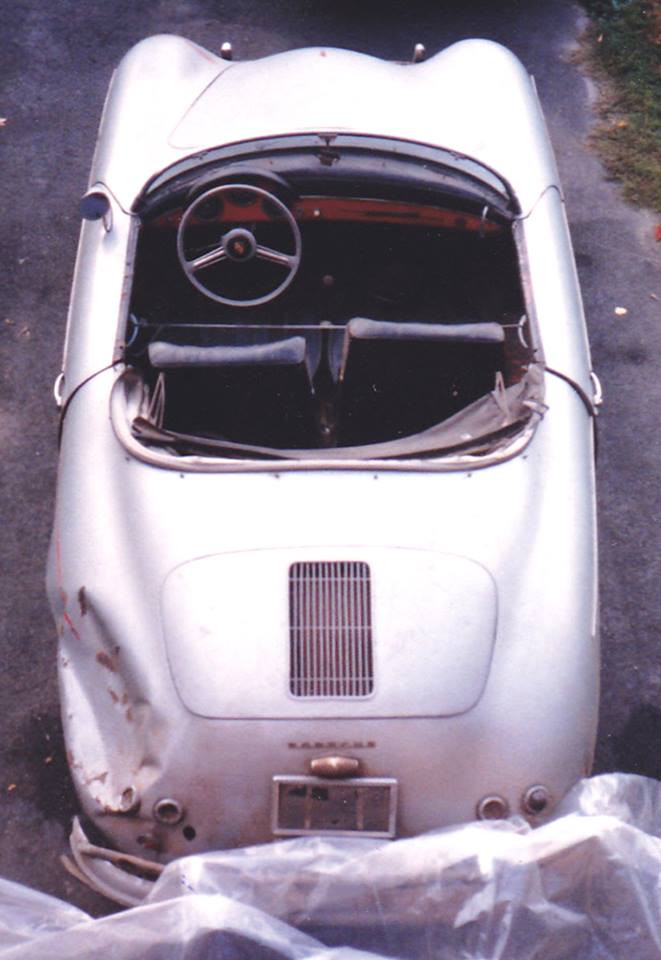
Picture 1 — The dent as it appeared 30 plus years ago.
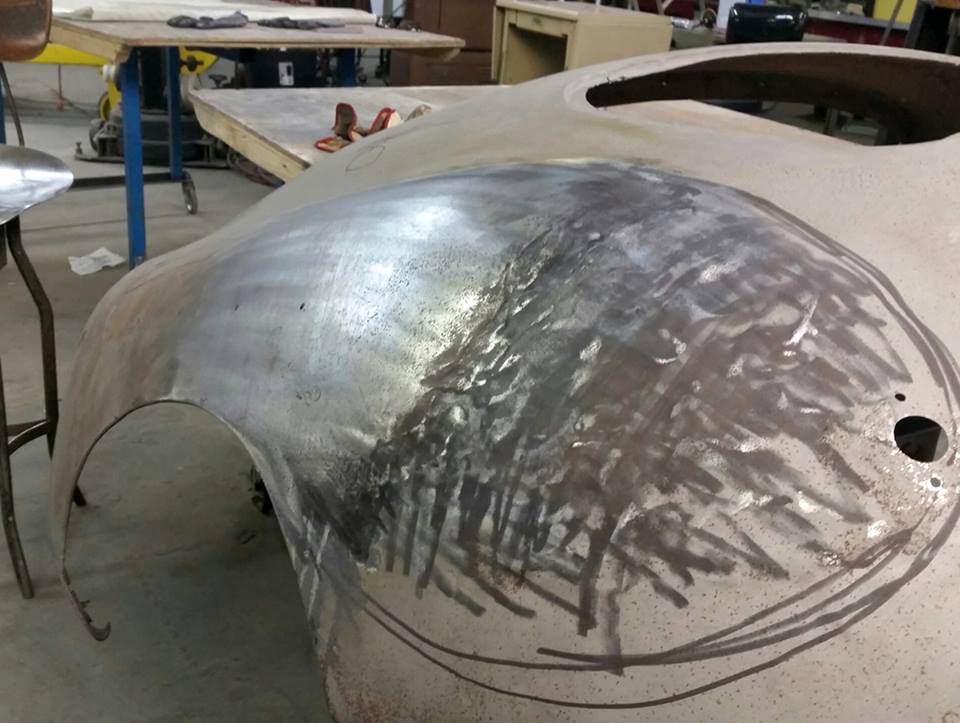
Picture 2 — The condition left side of the dent as I last worked on it view 1
Picture 3 — The condition left side of the dent as I last worked on it view 2
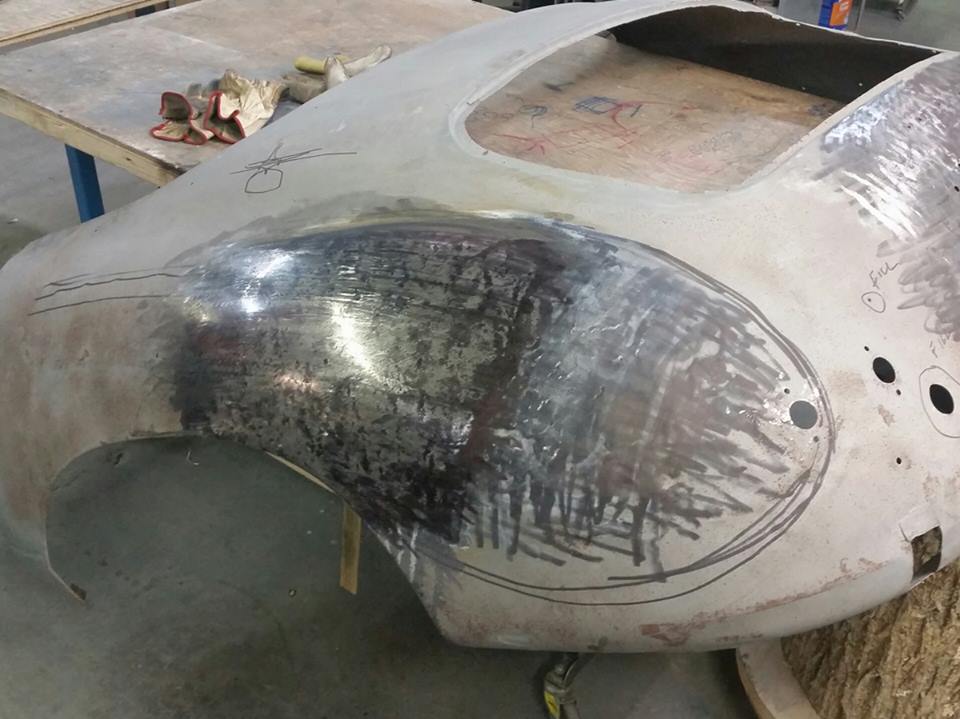
Picture 4 — The left side finished view1
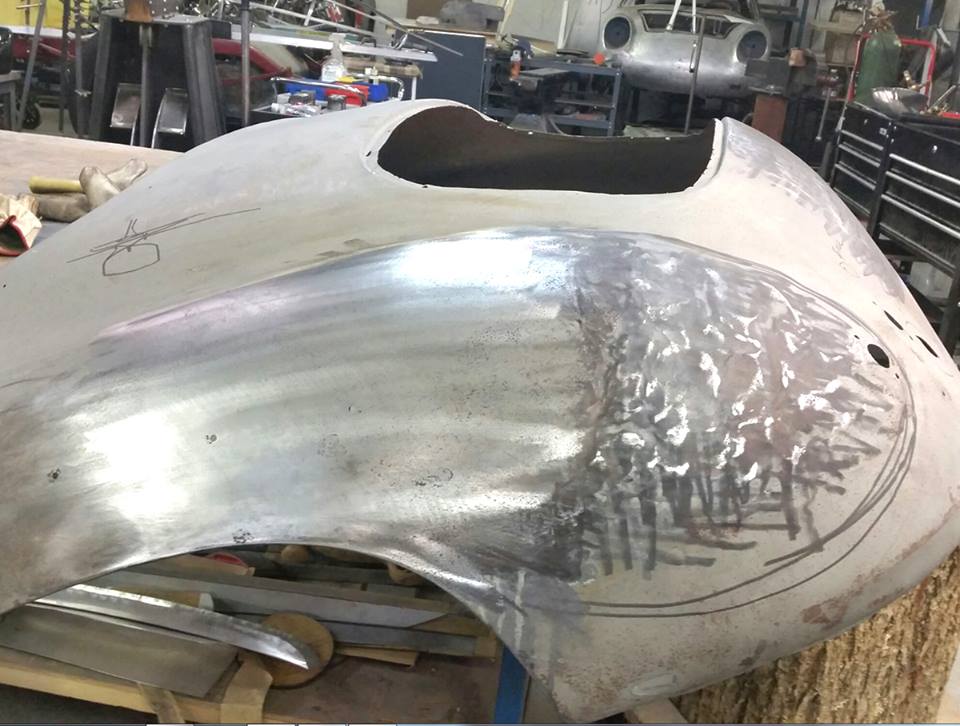
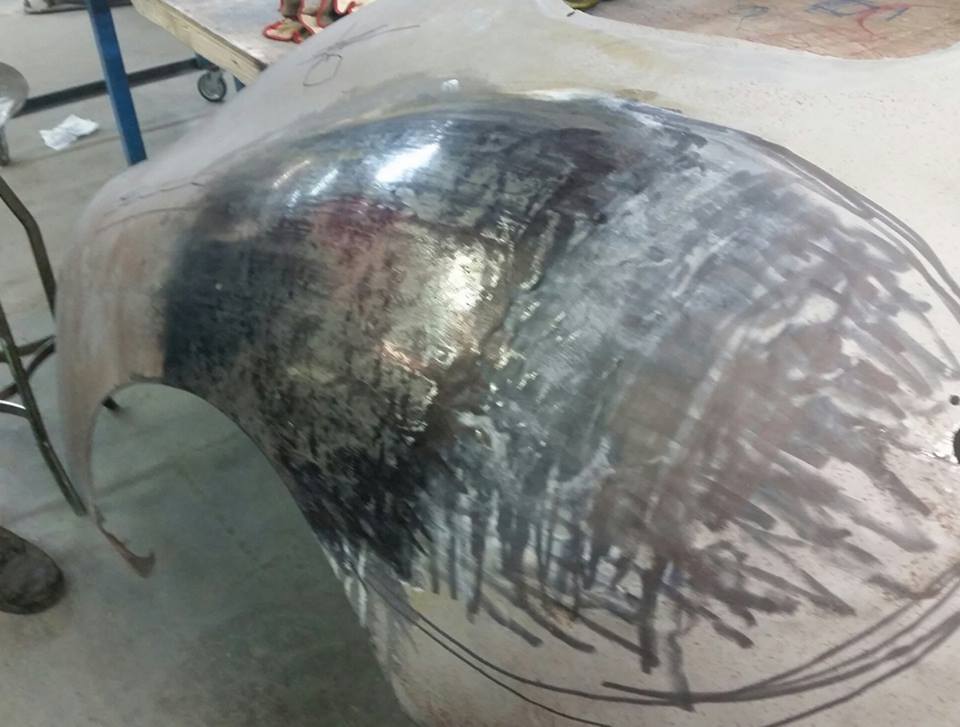
Picture 5 — The left side finished view2