$128.00
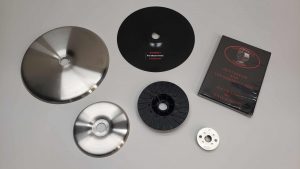
SHRINKING DISC COMBO (Without DVD)
Description
From the inventor of the smooth and safe shrinking discs.
Designed and made by Wray Schelin teacher and master of the craft of sheet metal shaping.
SHRINKING DISC COMBO (Without DVD)
Shrinking Disk Combo (Without DVD) $128.00 * plus $10 shipping
Please also check out our article on how we removed a 30 years old dent with simple hand tools and our shrinking disc.
THE 9″ SHRINKING DISC:
This tool will pay for itself the first time you use it!!!!
A shrinking disc allows you to shrink stretched sheetmetal panels easily and with great control!
A shrinking disc will allow you to master the process of butt welding sheetmetal!
After seeing what a shrinking disc can do you will be saying to yourself. ” I wish I had a shrinking disc years ago”
Make Bondo dust a memory, repair sheetmetal panels to perfection with a shrinking disc!
A shrinking disc is one of the most effective autobody panel tools available today!
Every car collector, Hot Rod builder, and custom builder should have a ProShaper Tools shrinking disc in their toolbox!
Made from .060″ stainless steel. My thicker discs will last for years of heavy use, run safer, and super smooth panels better than others offered in the marketplace.
A shrinking disc is the most effective autobody and sheetmetal smoothing tool, used properly you will achieve repairs and panels that will need no filler. Add up how much you spend on fillers and sandpaper in a year and you will see a shrinking disc will save you lots of money and provide you with the confidence of a true craftsman.
Shrinking discs are a must have tool after butt welding in restoration repair patch panels. You’ll be able to make welded in patch panels look like they were never there. A shrinking disc works by creating heat through friction. The heated high spots on a panel when cooled shrink. Once you get proficient in using a shrinking disc the results will astound you.
Works equally well on steel or aluminum. I have been using shrinking discs for over 20 years. With a PayPal payment I ship the next day priority mail, same day if possible.
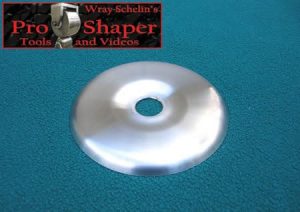
THE 5″ SHRINKING DISC:
Use this five inch diameter shrinking disc on confined surface areas that are not accessible with my larger 9″ dia. shrinking discs.
I use my shrinking discs on every panel I make ( aluminum and steel) to super smooth the surface. Any panel when finished whether new or repaired is left ready for primer ( bondo filler free).
I teach how to properly use my shrinking discs at all of my sheetmetatal shaping classes.
Mount with standard 7/8″ dia. ( 5/8 x 11 thread) autobody grinder flange nut. To mount to a different thread or grinder stud size you will have to adapt a bushing or collar( very easy to do) I sell these all over the world.
Made from 16 gage stainless, this tool will last for many years.
Use with a mounting flange.
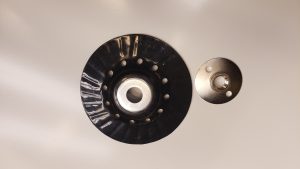
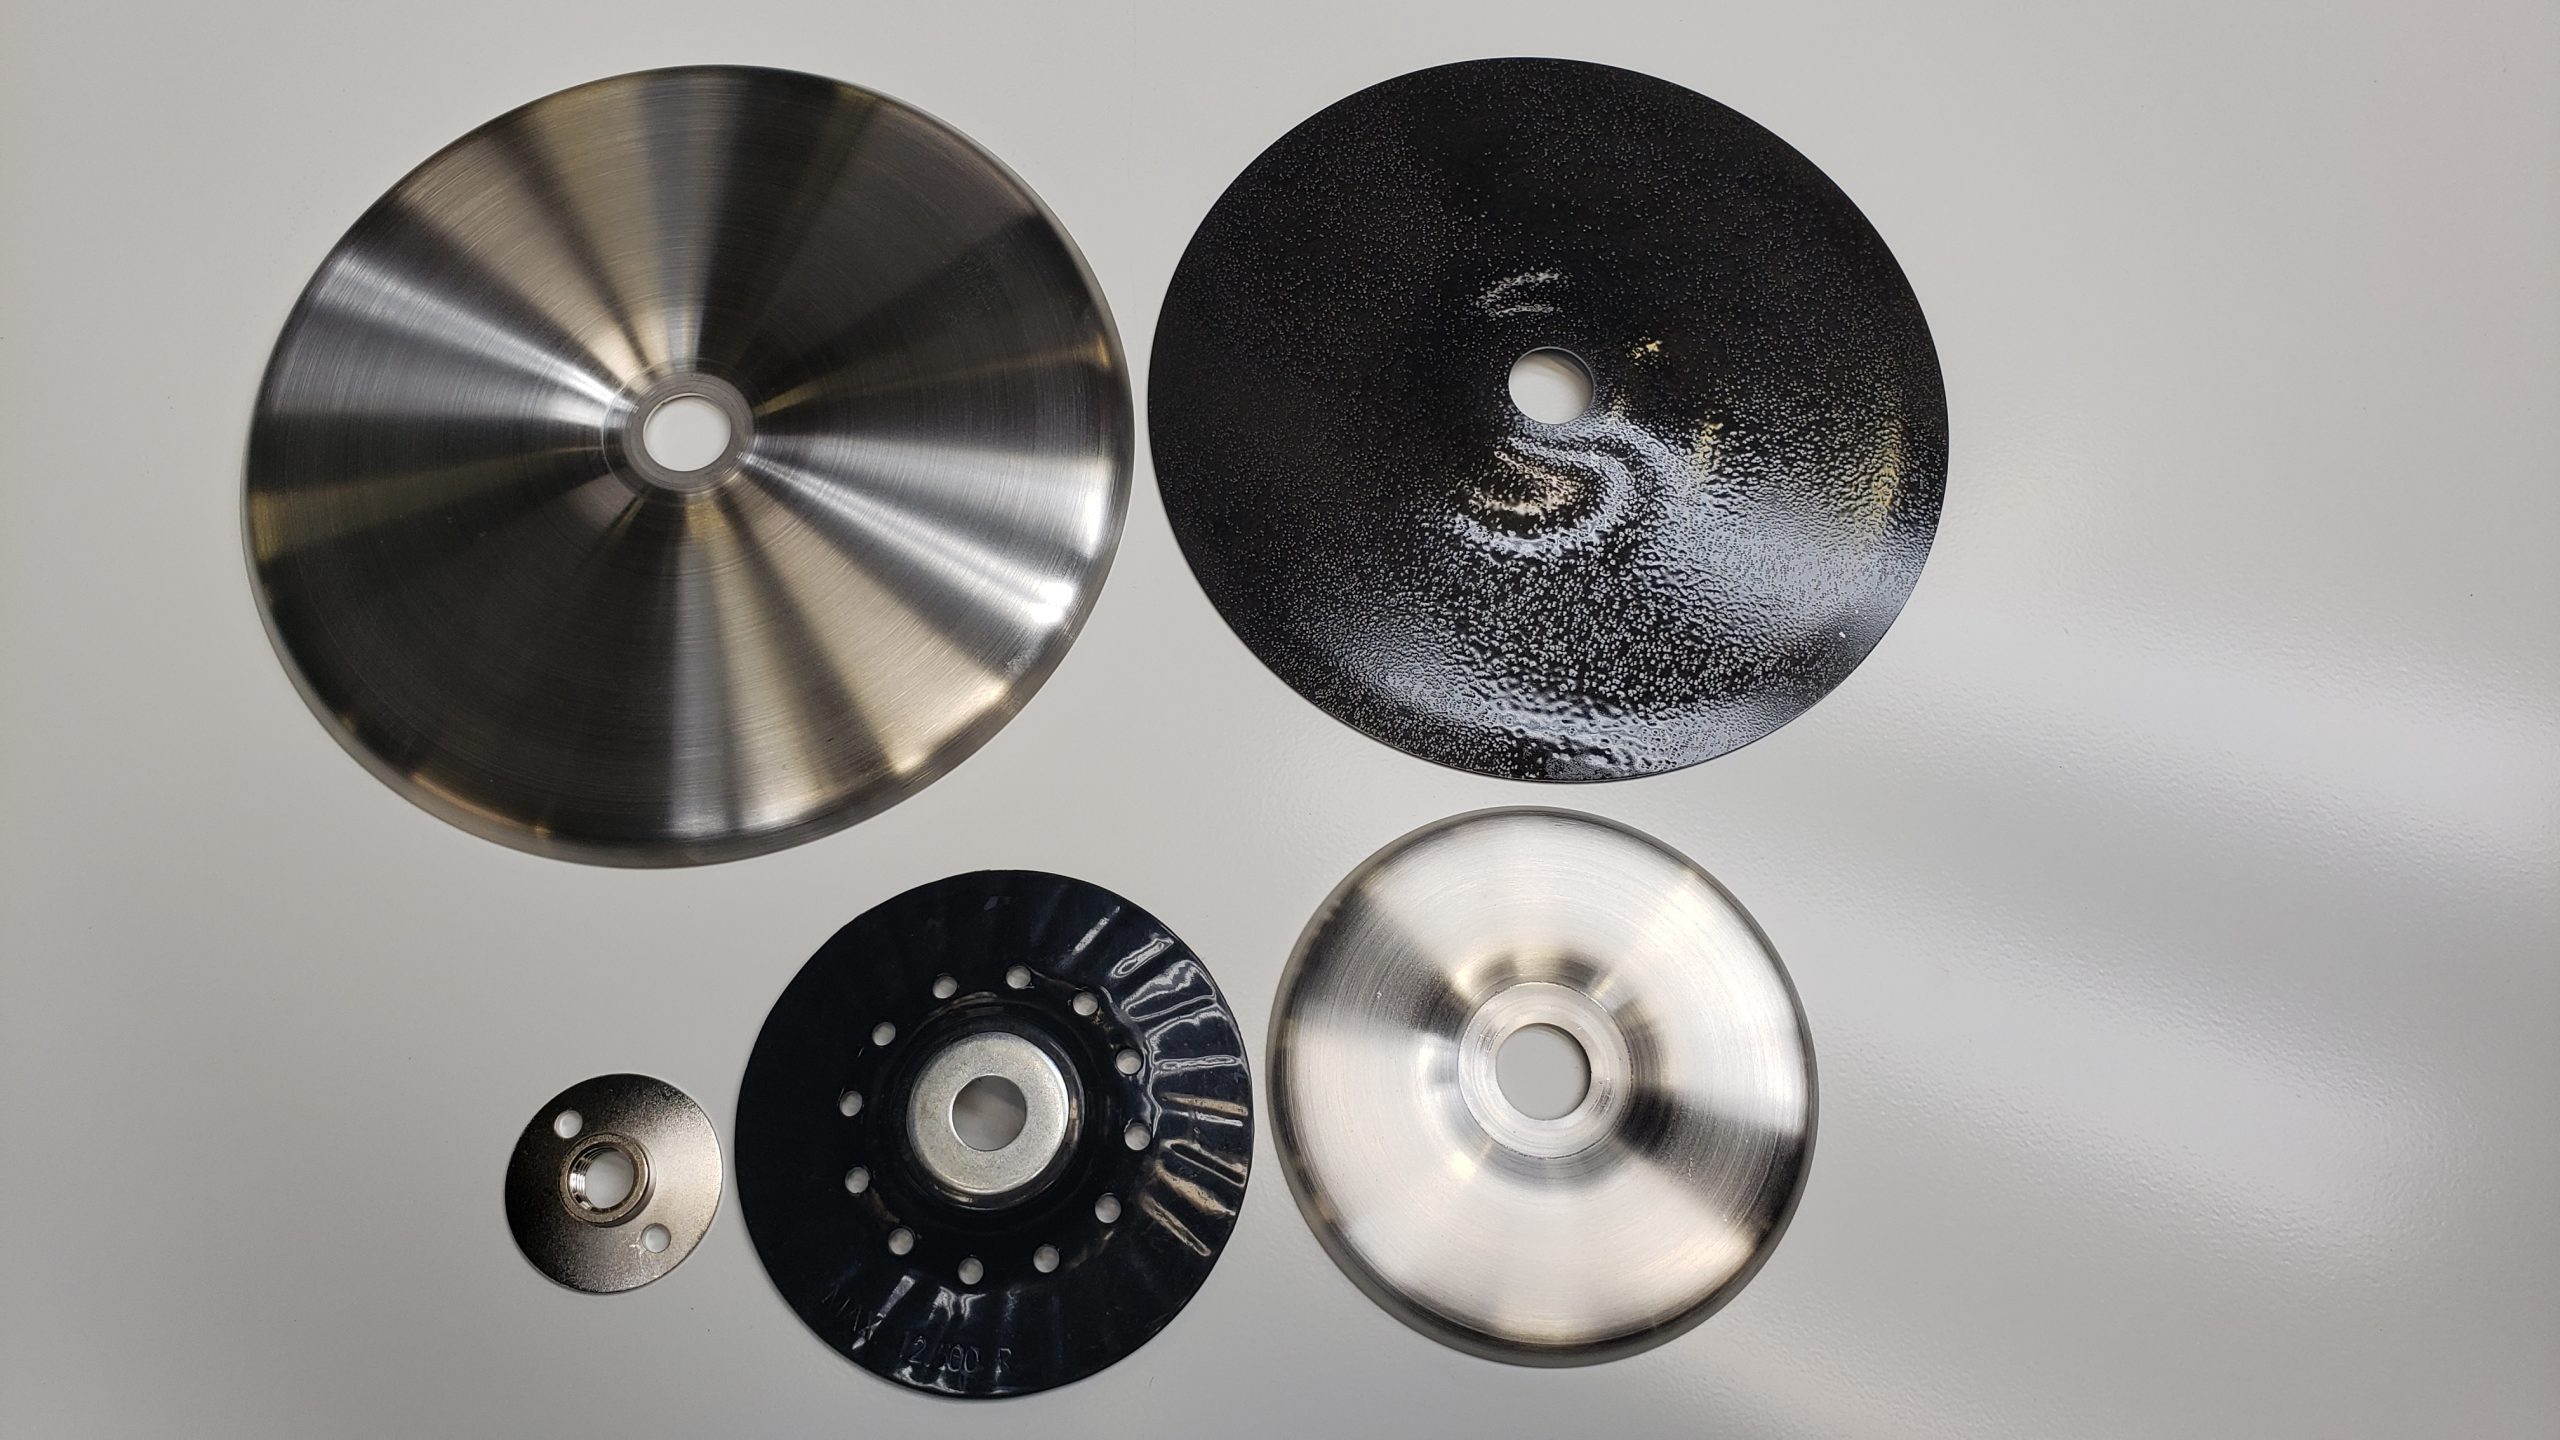
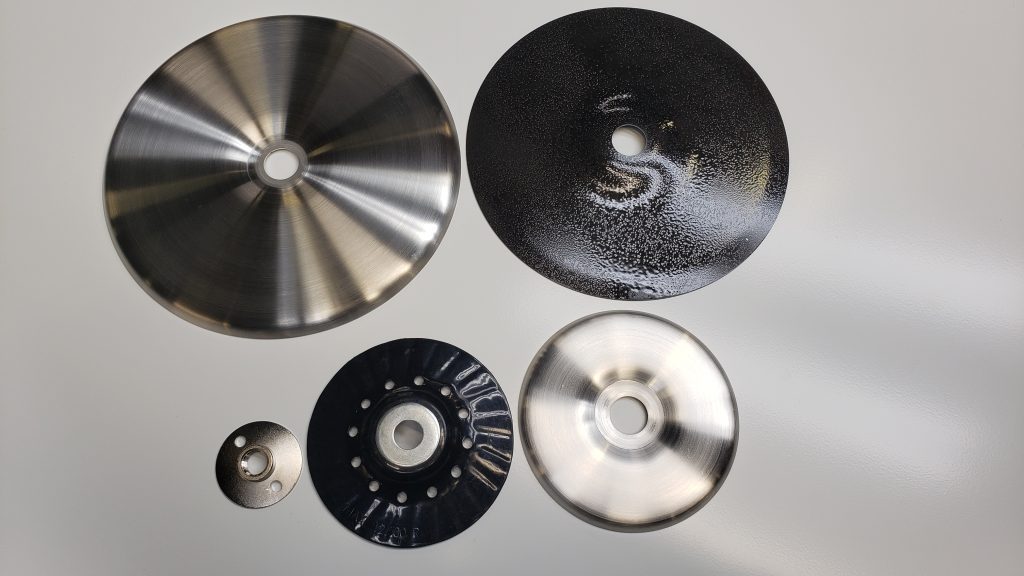
THE 9″ BACKING DISC/BACK-UP PAD:
This is a new product I have developed to insure proper support for my 9″ dia. shrinking discs. A proper mounting of my 9″ dia. shrinking disc should include a 3″ to 4″ dia. mount flange ( standard equipment with most 7 and 9 inch autobody right angle grinders) then the 9″ back-up pad, then the shrinking disc. The securing nut should be below flush so it won’t rub on the panel when using the disc.
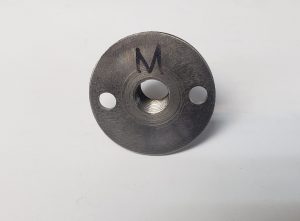
5” Backing Pad and 5/8″ x 11 threaded plate
This backing pad and threaded plate should only be used for the 5″ Shrinking Disc.
•I teach how to properly use my shrinking discs at all of my sheetmetal shaping classes.
•Mount with standard 7/8″ dia. ( 5/8 x 11 thread) autobody grinder flange nut. To mount to a different thread or grinder stud size you will have to adapt a bushing or collar( very easy to do) I sell these all over the world.
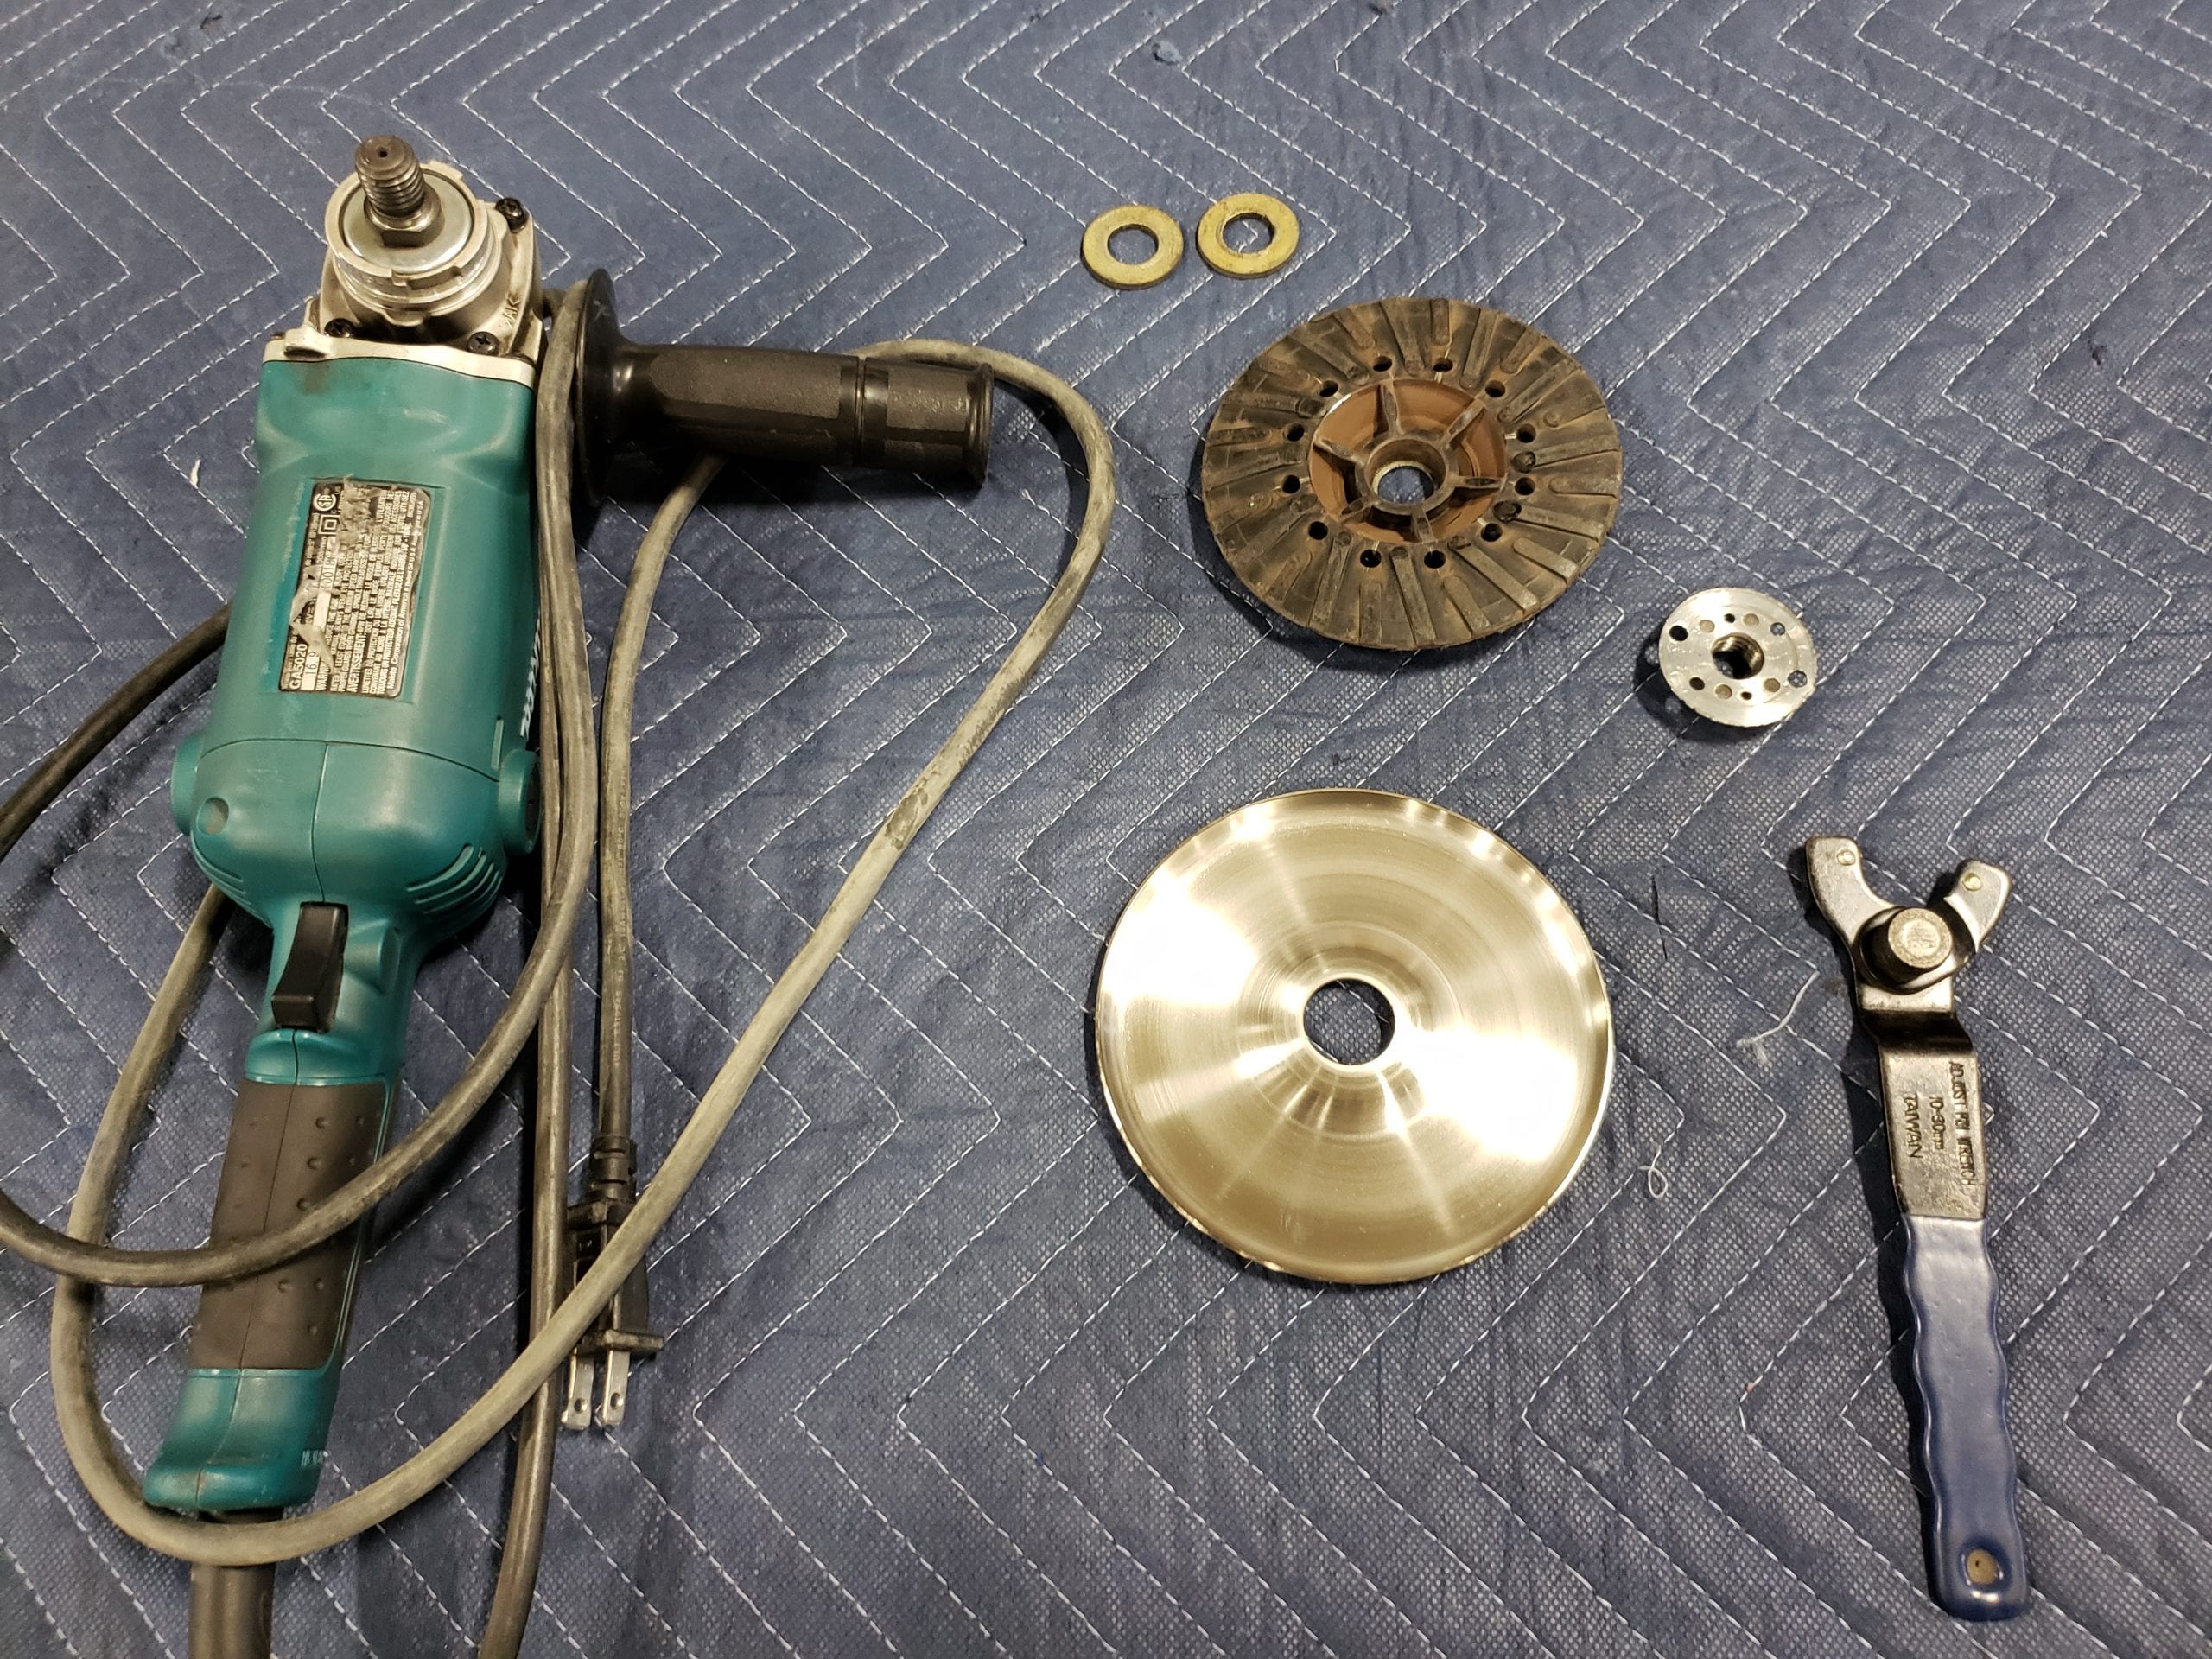
How to mount your 9″ Shrinking Disc
(You need to purchase the backing pad if you haven’t done so already)
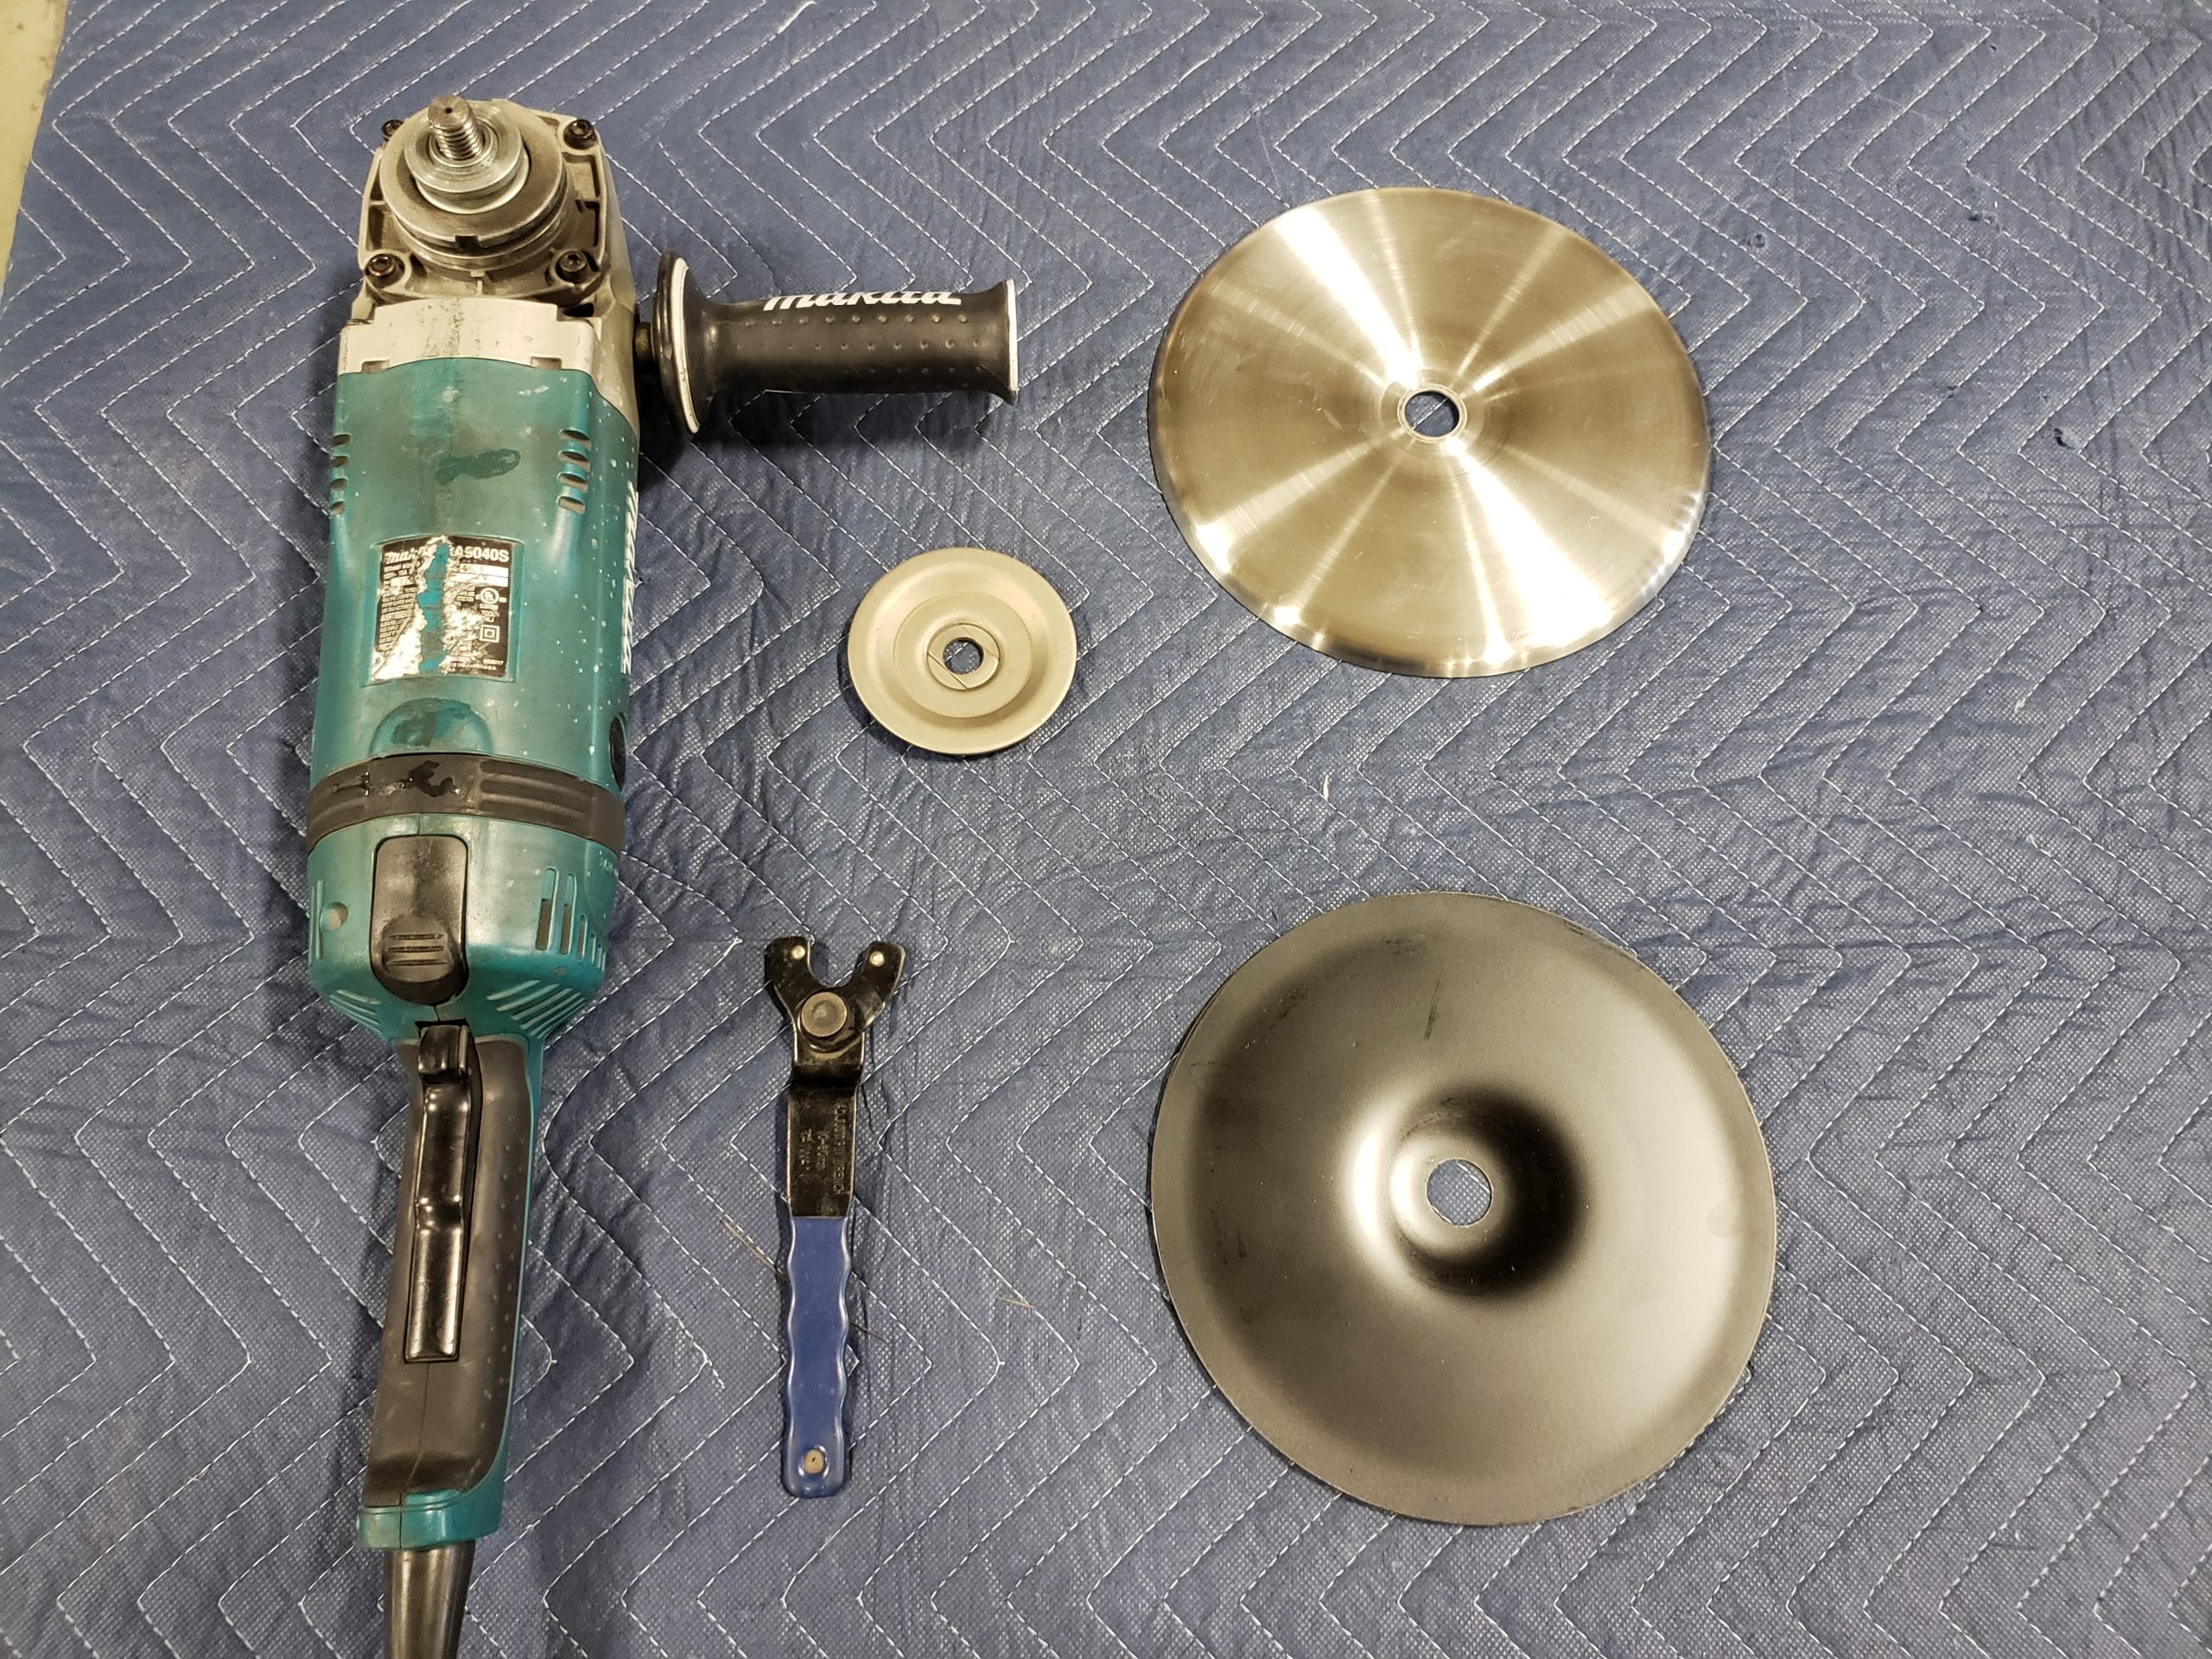
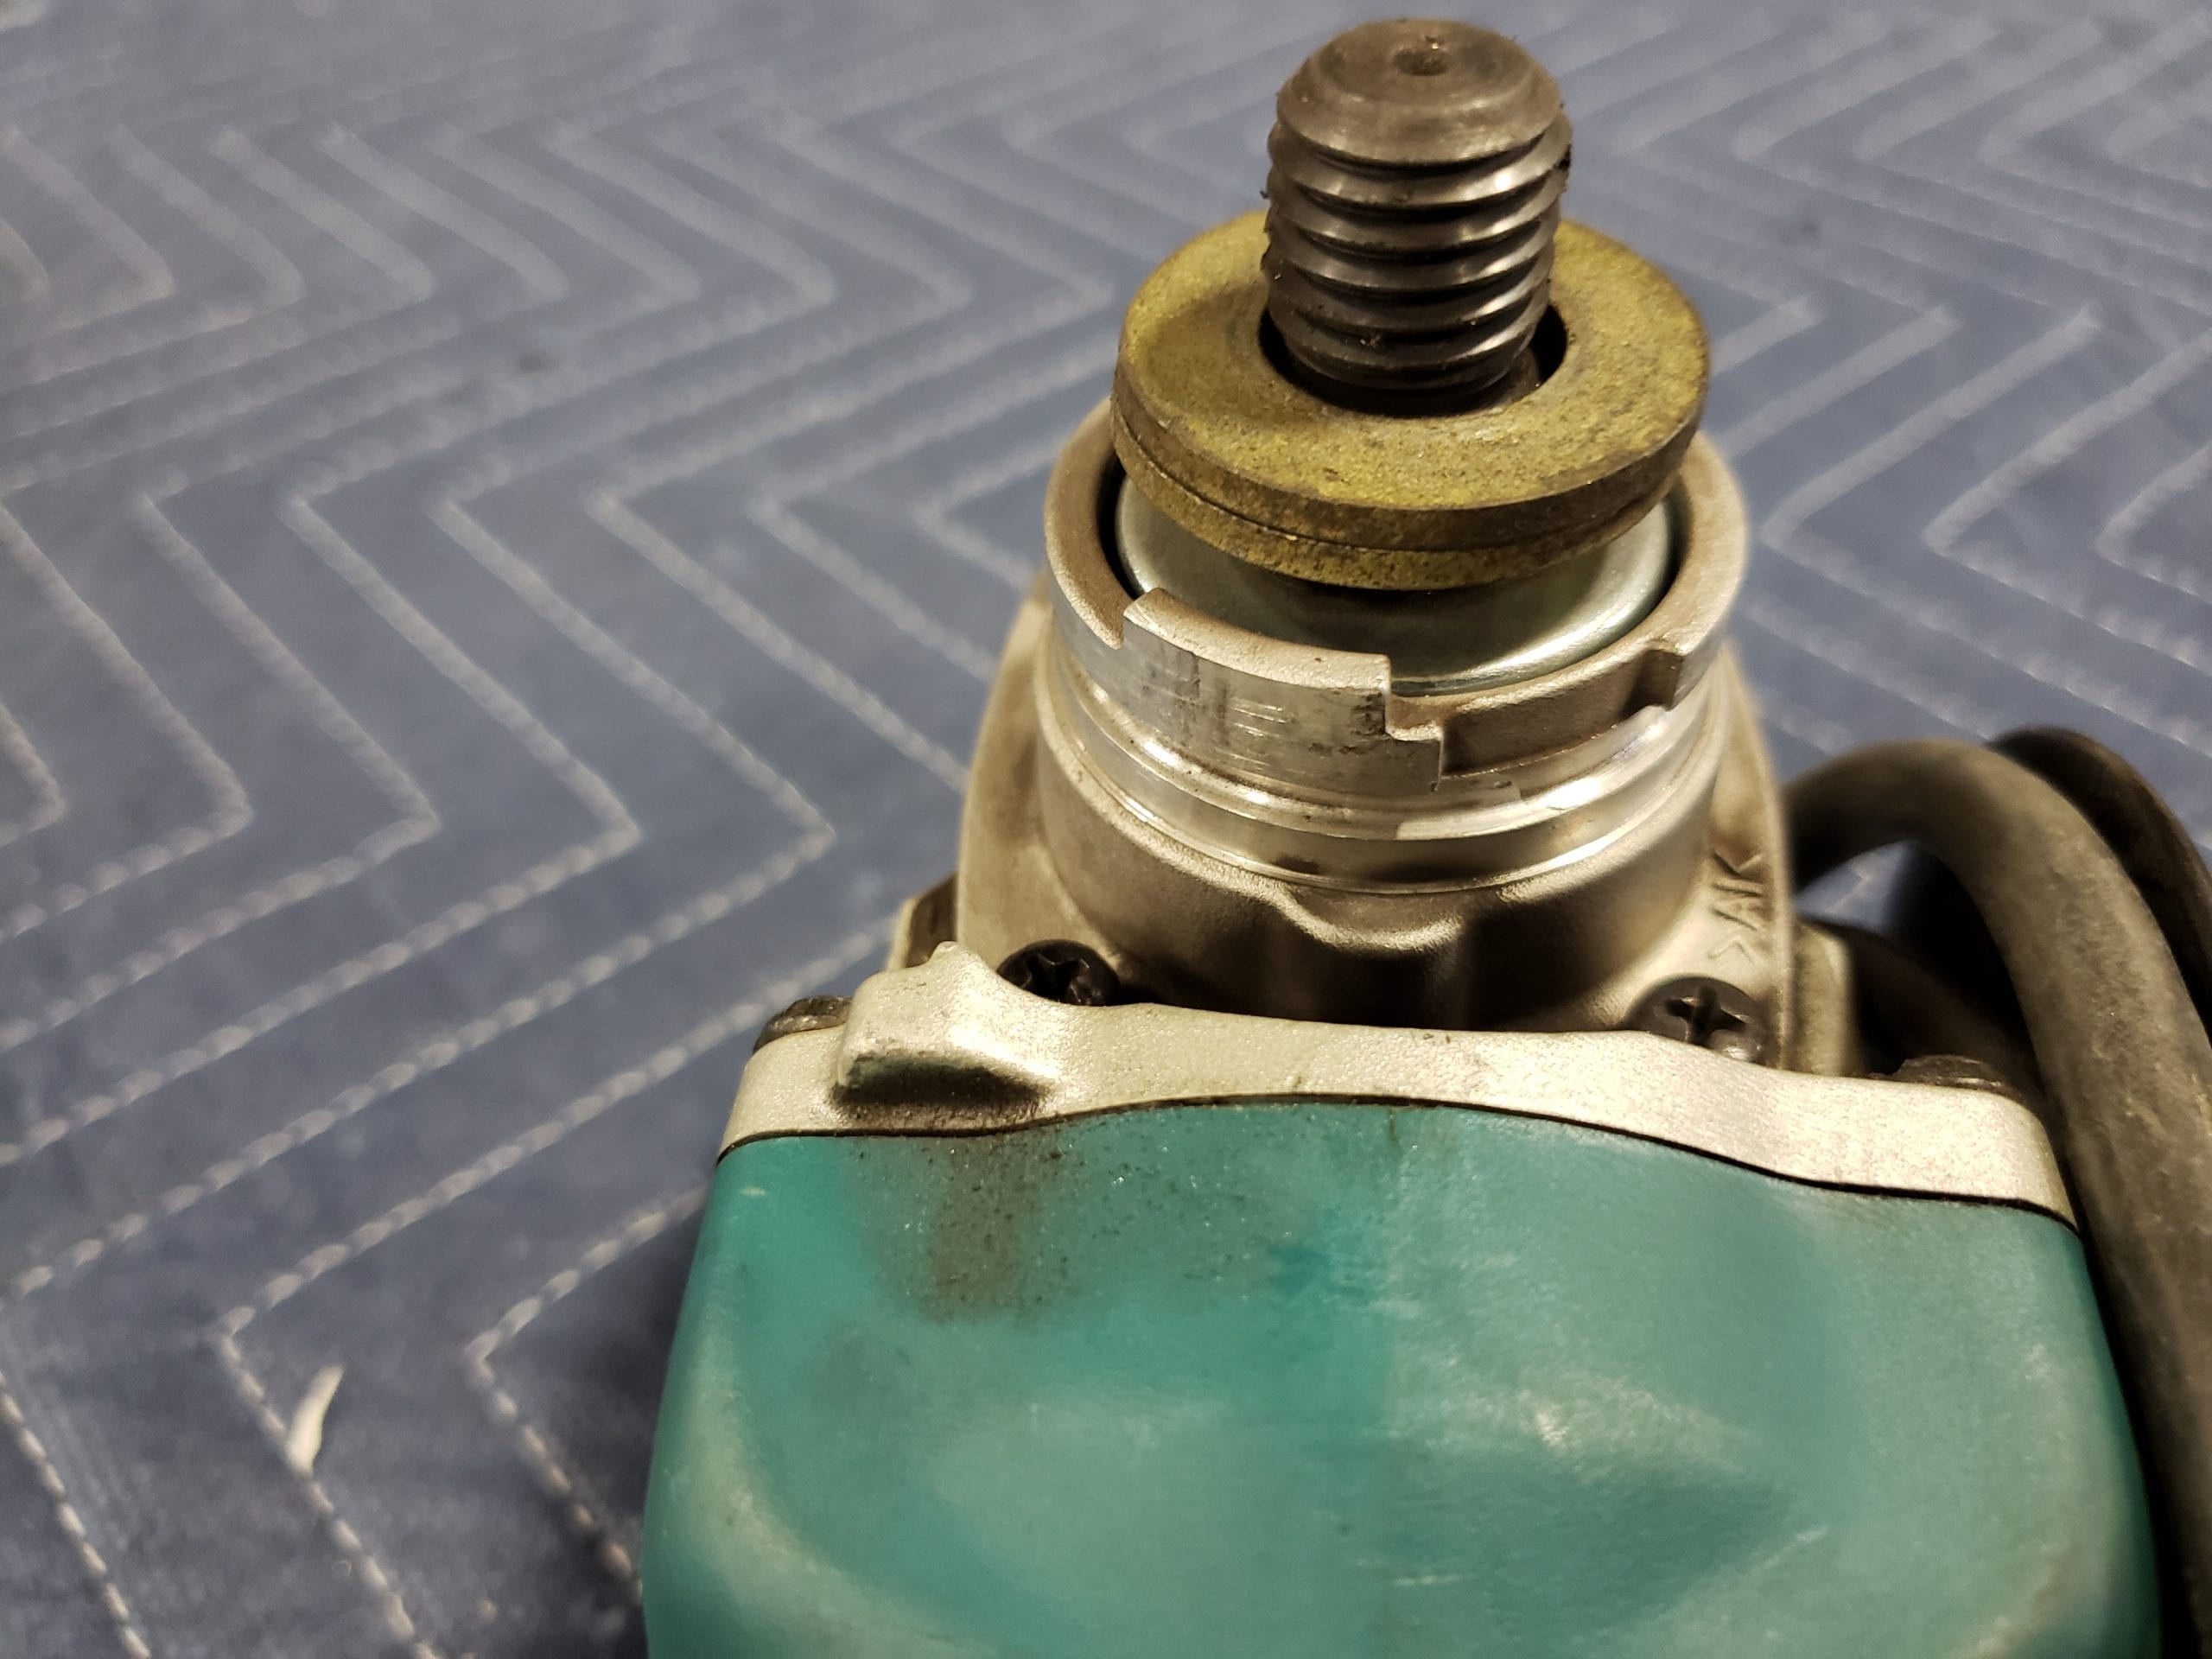
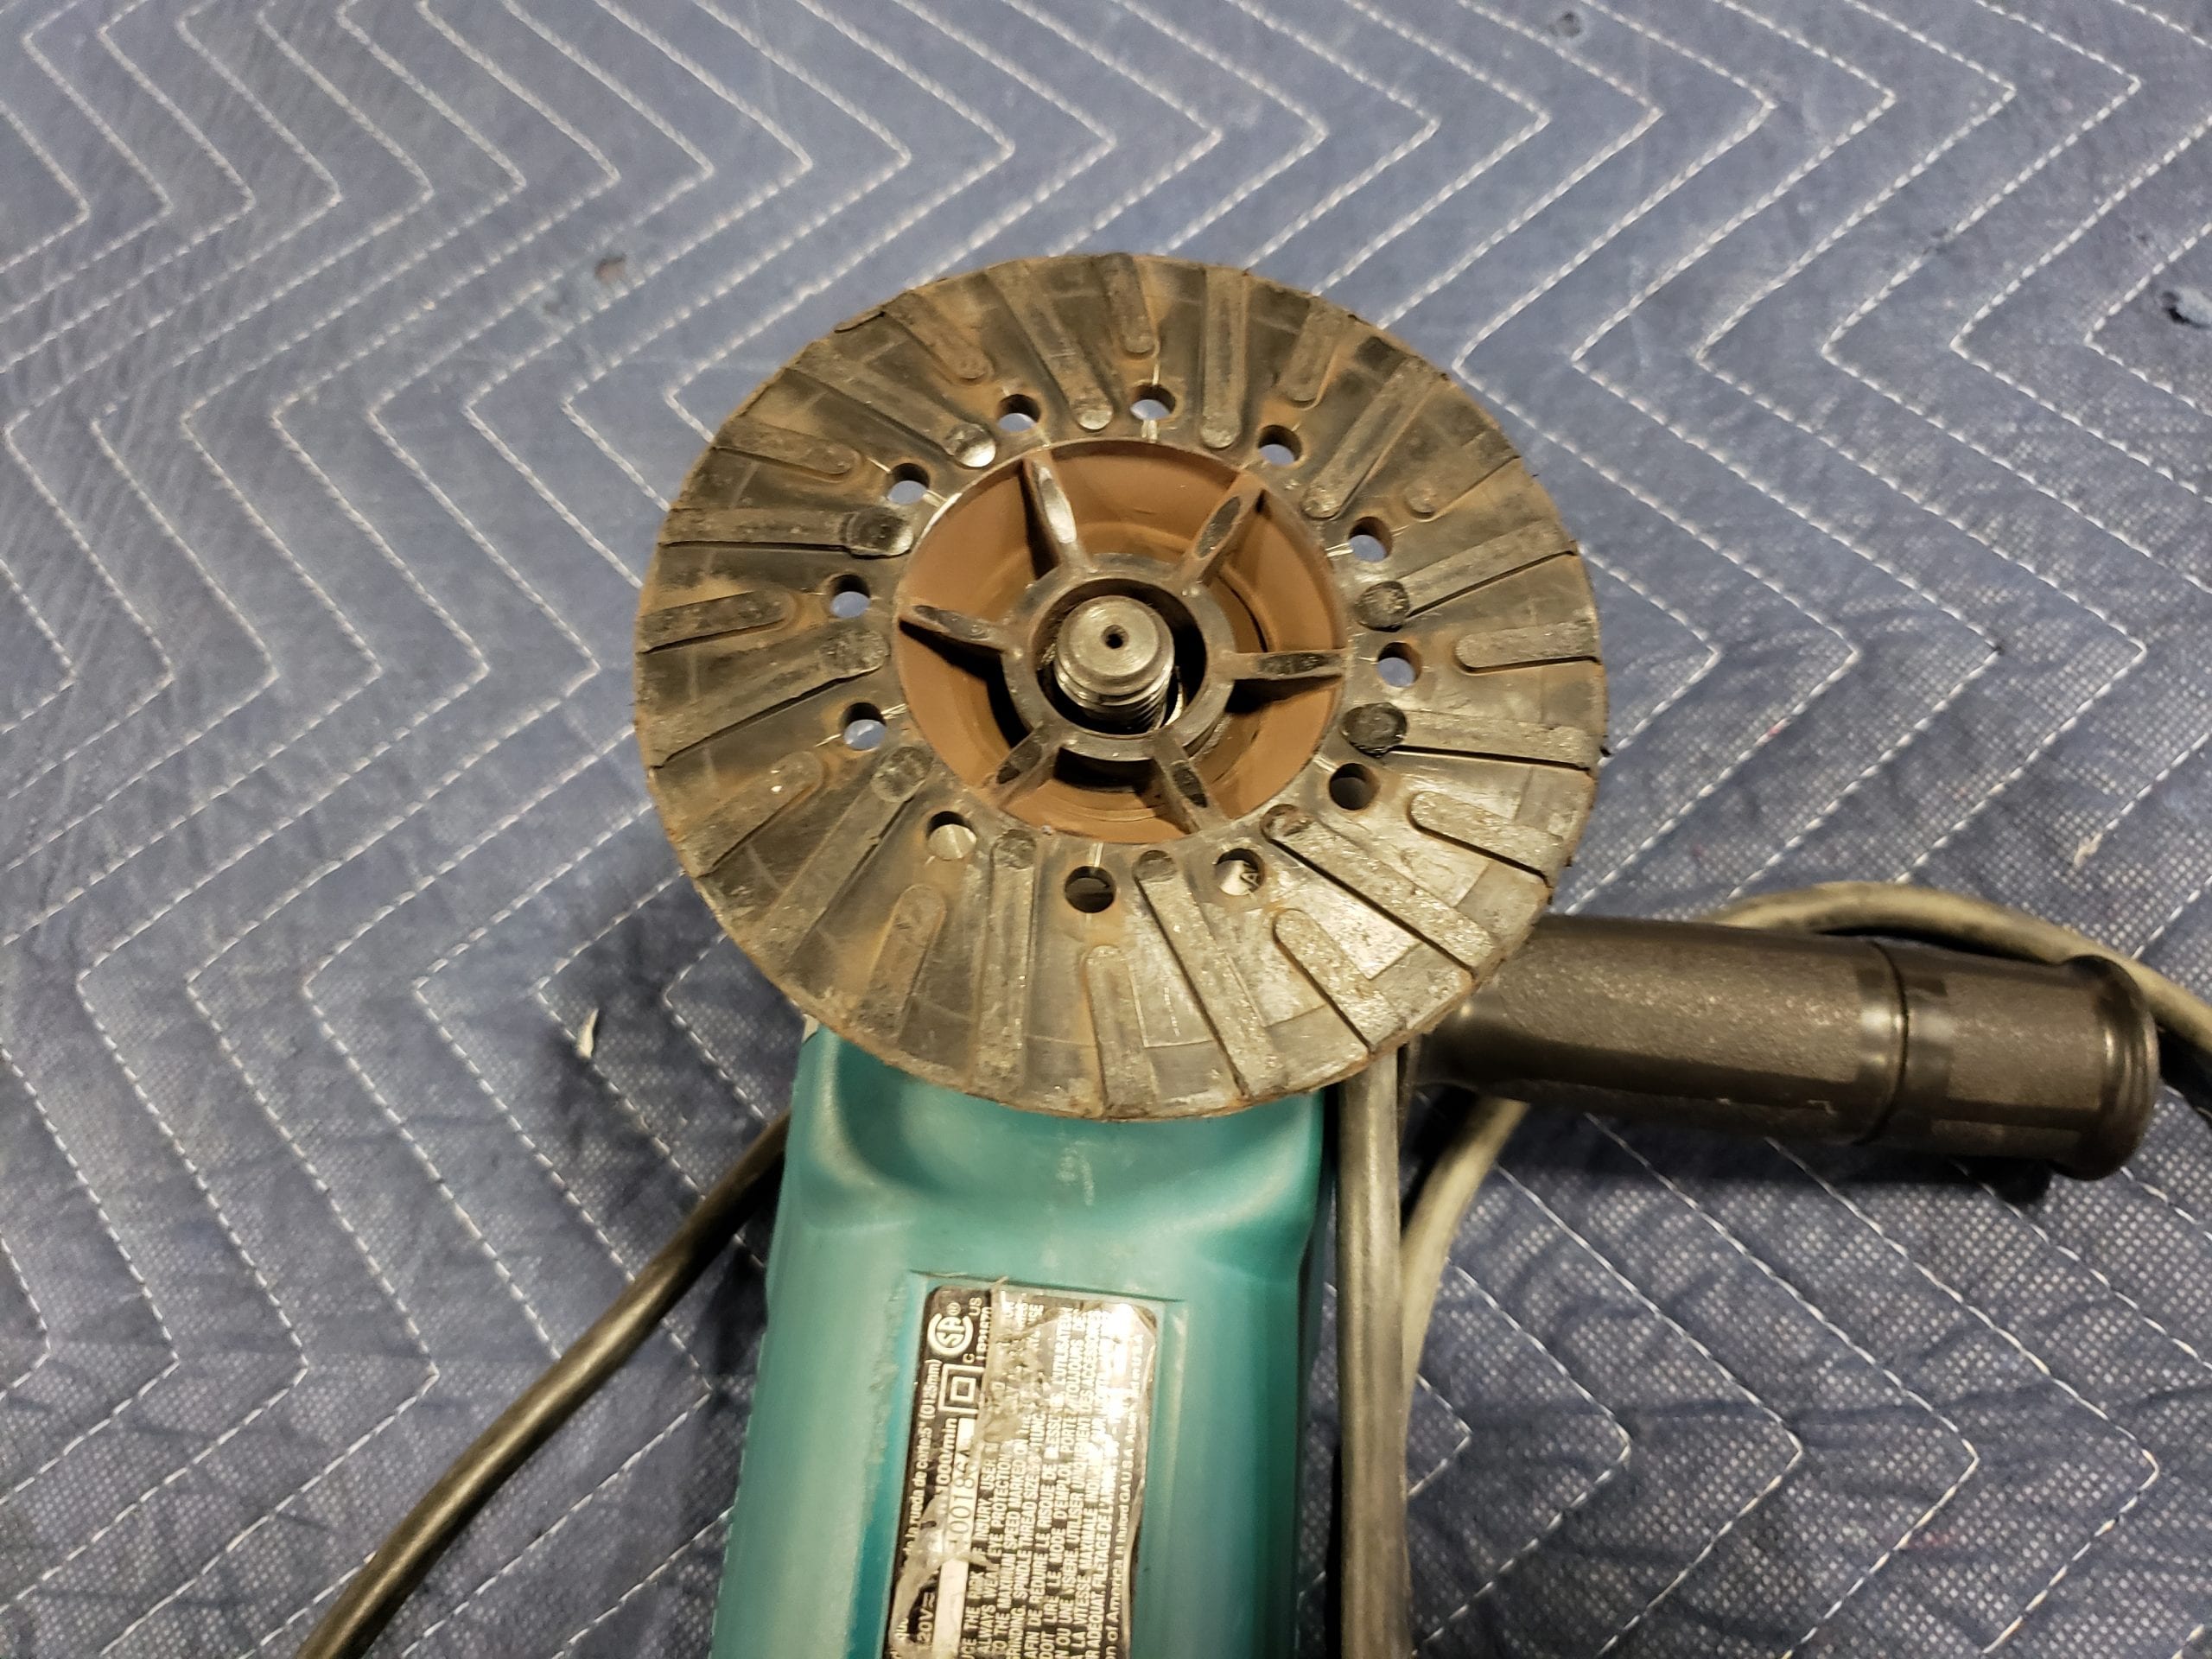
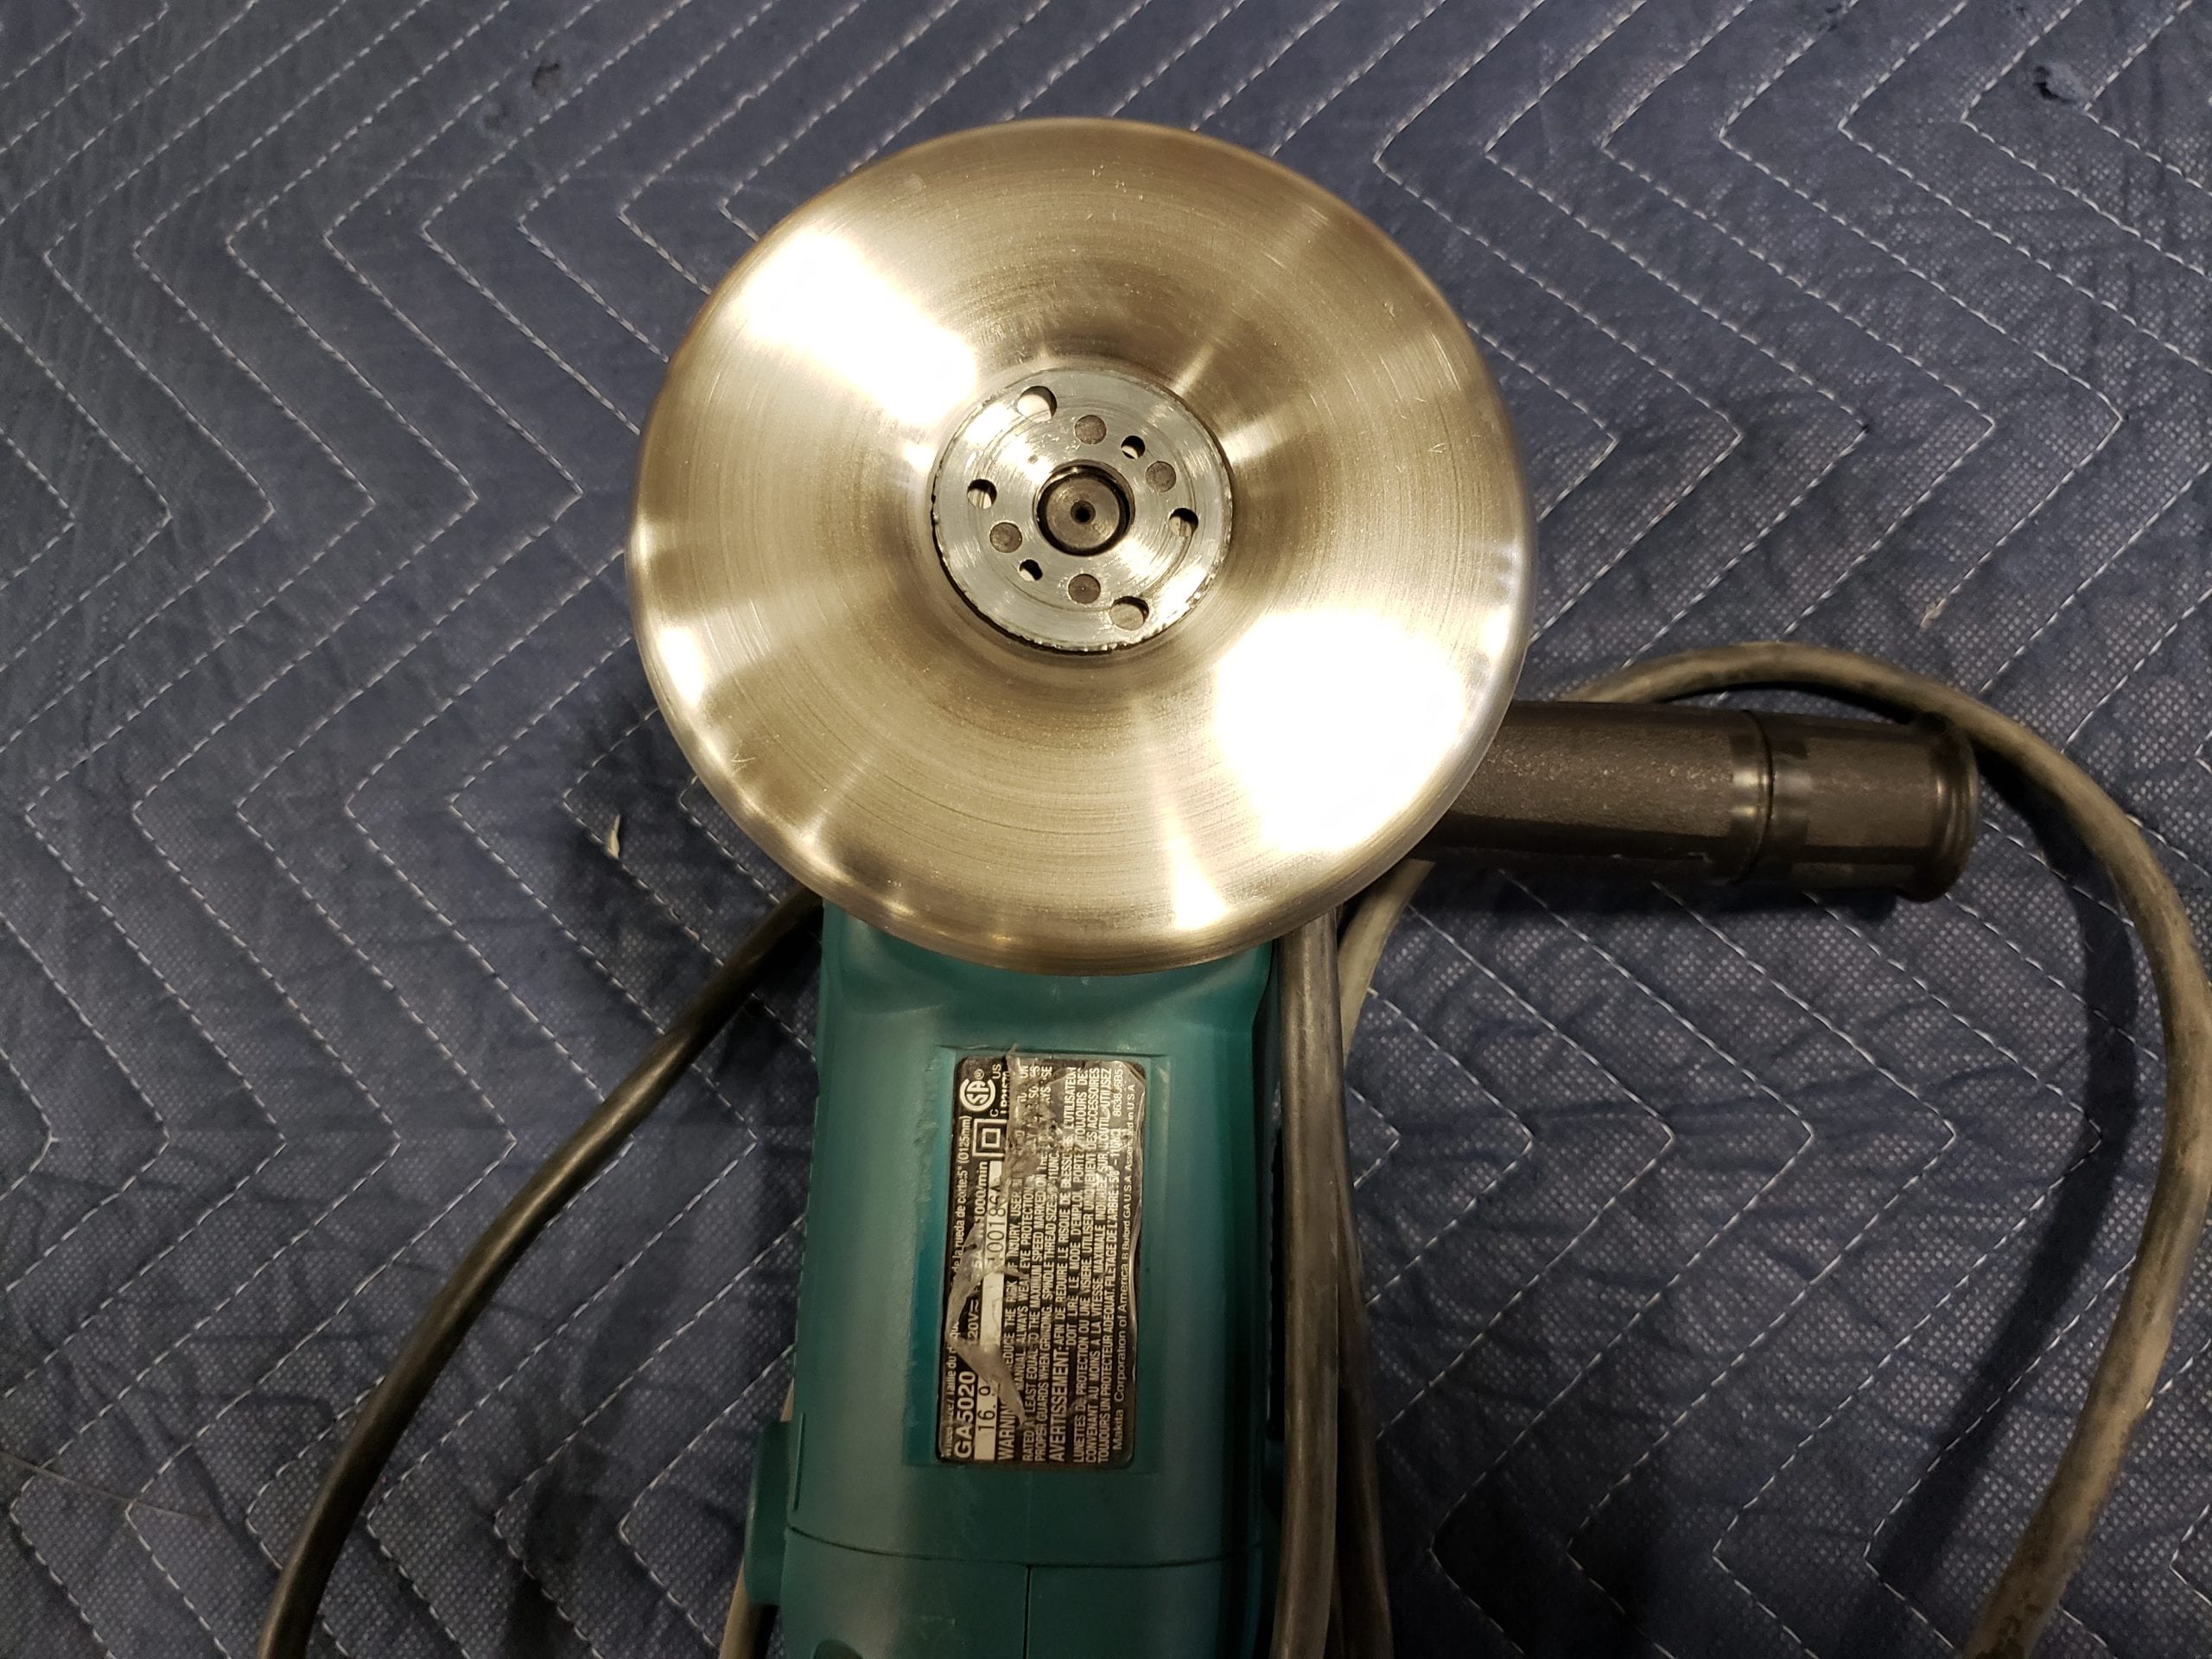
Place the support hub on first (Necessary) it comes with the grinder when you buy it new
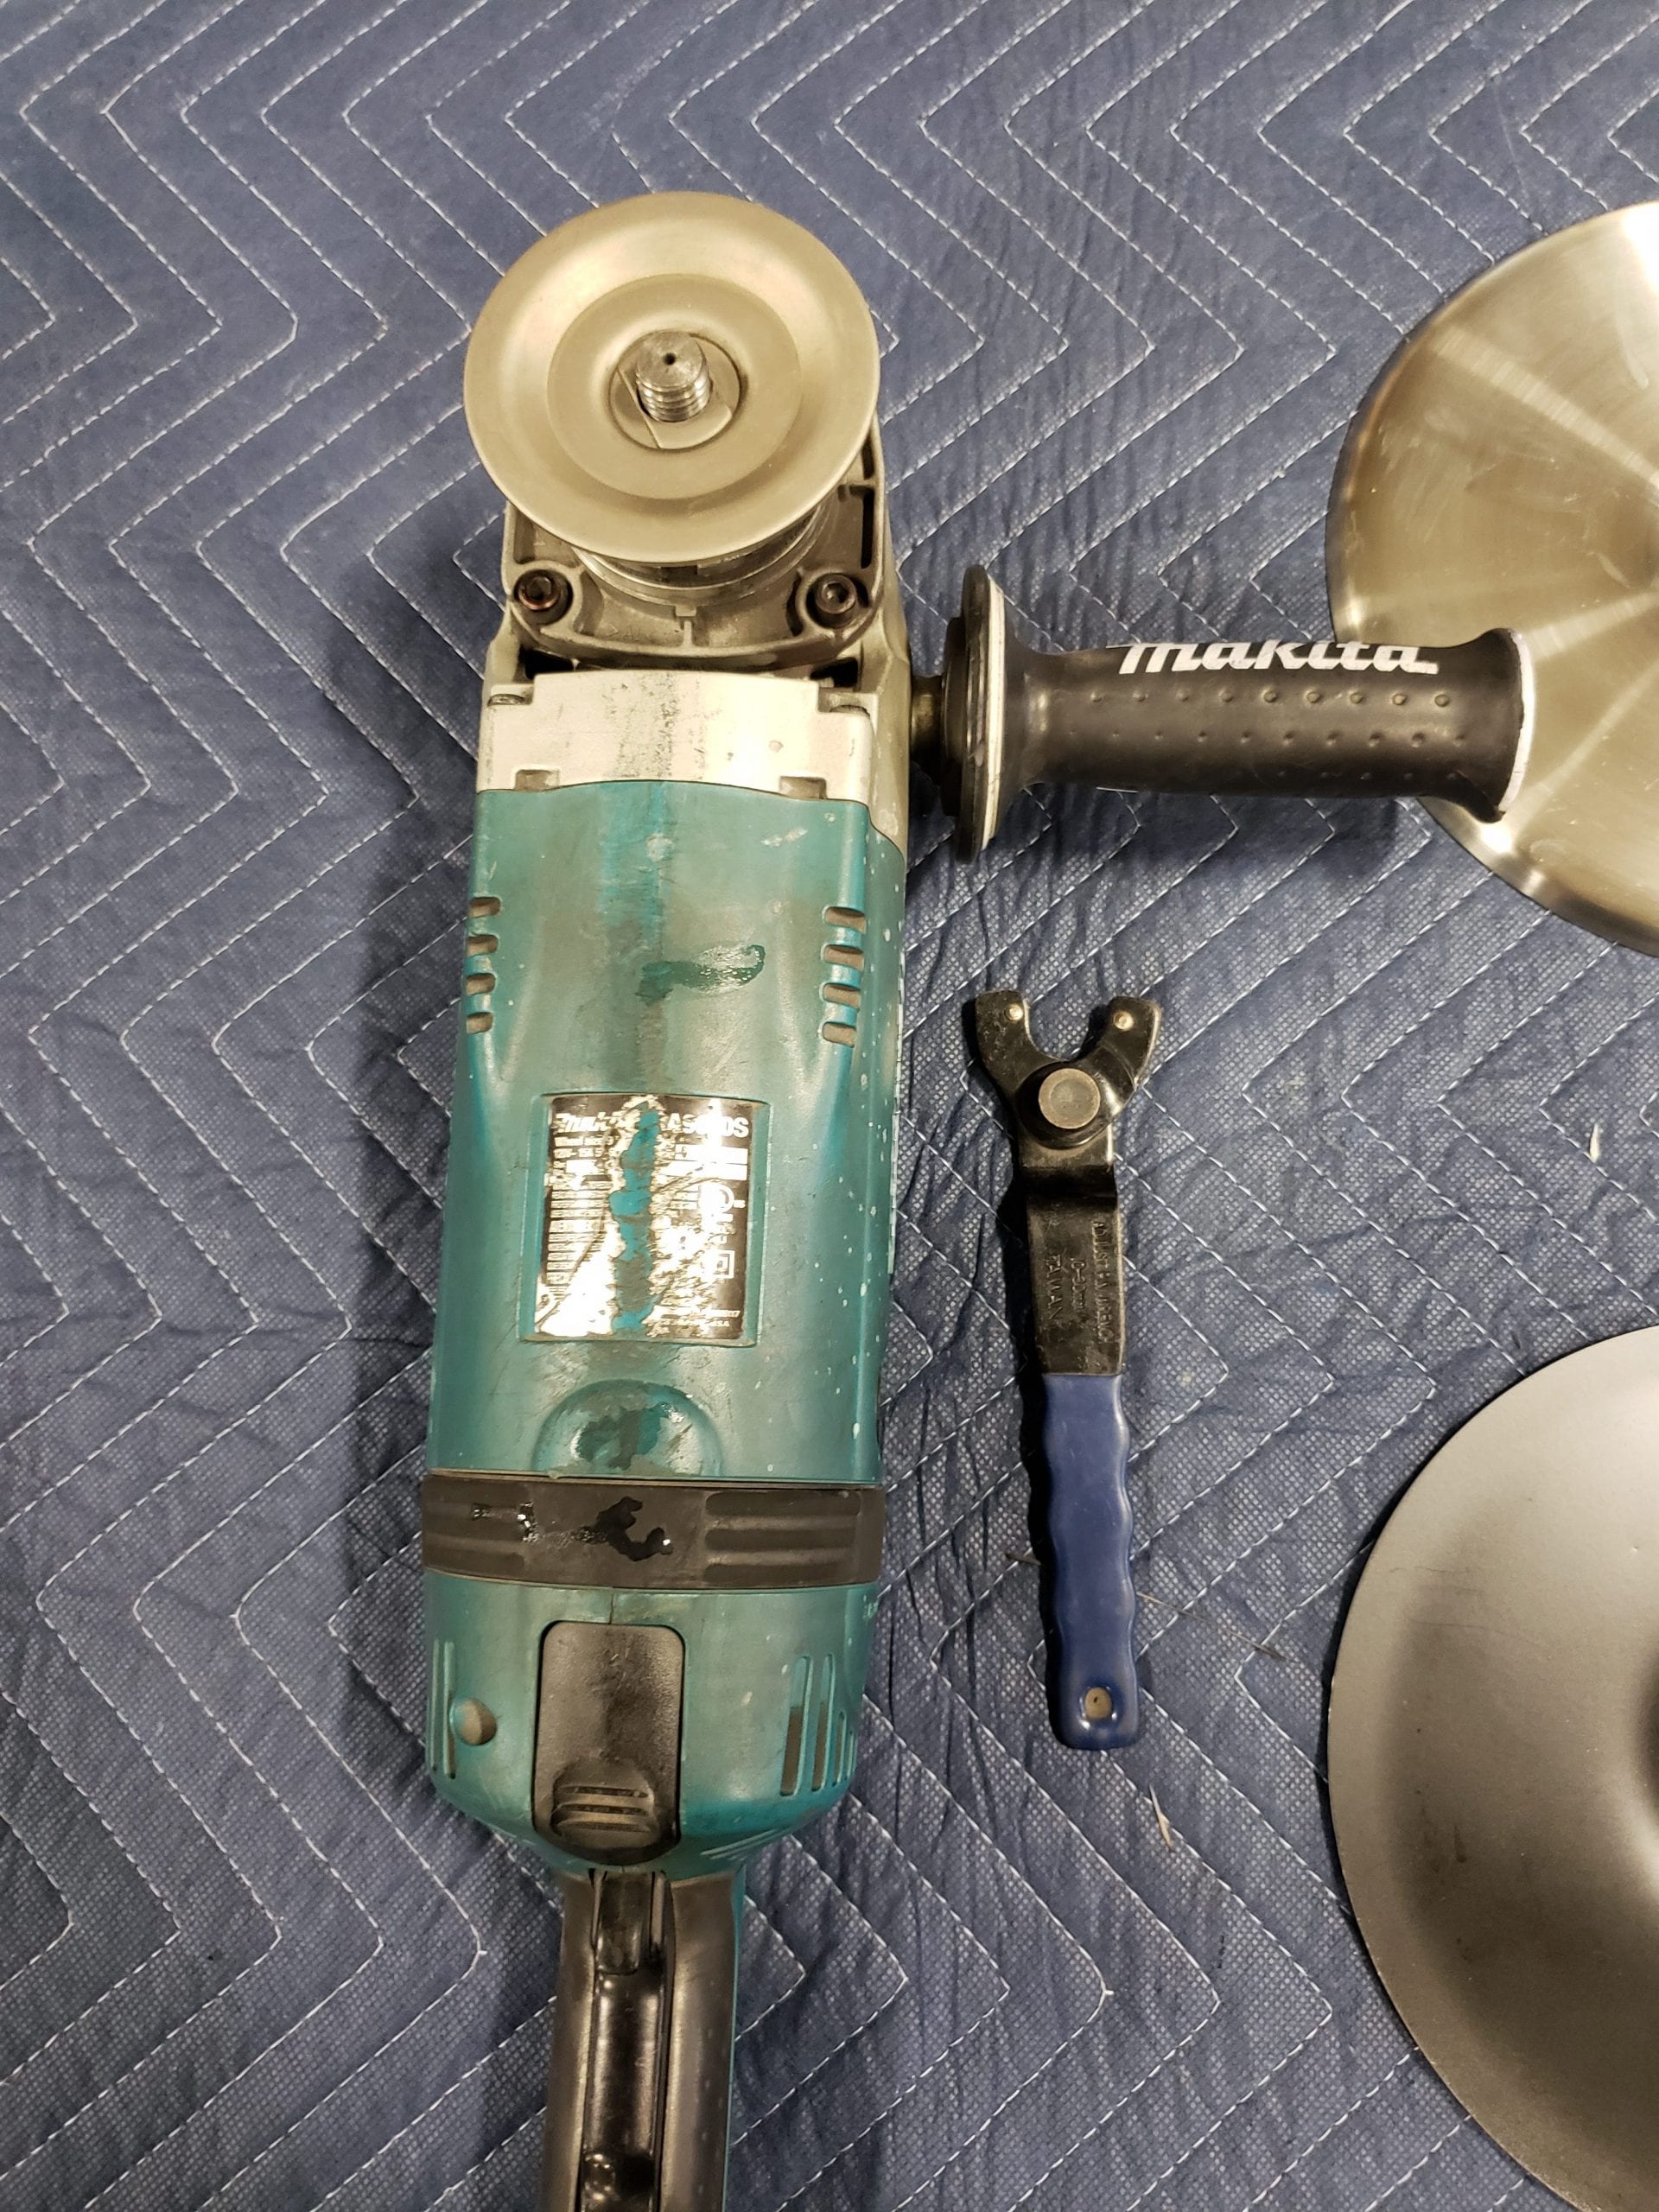
Put the backing pad on top concave side up

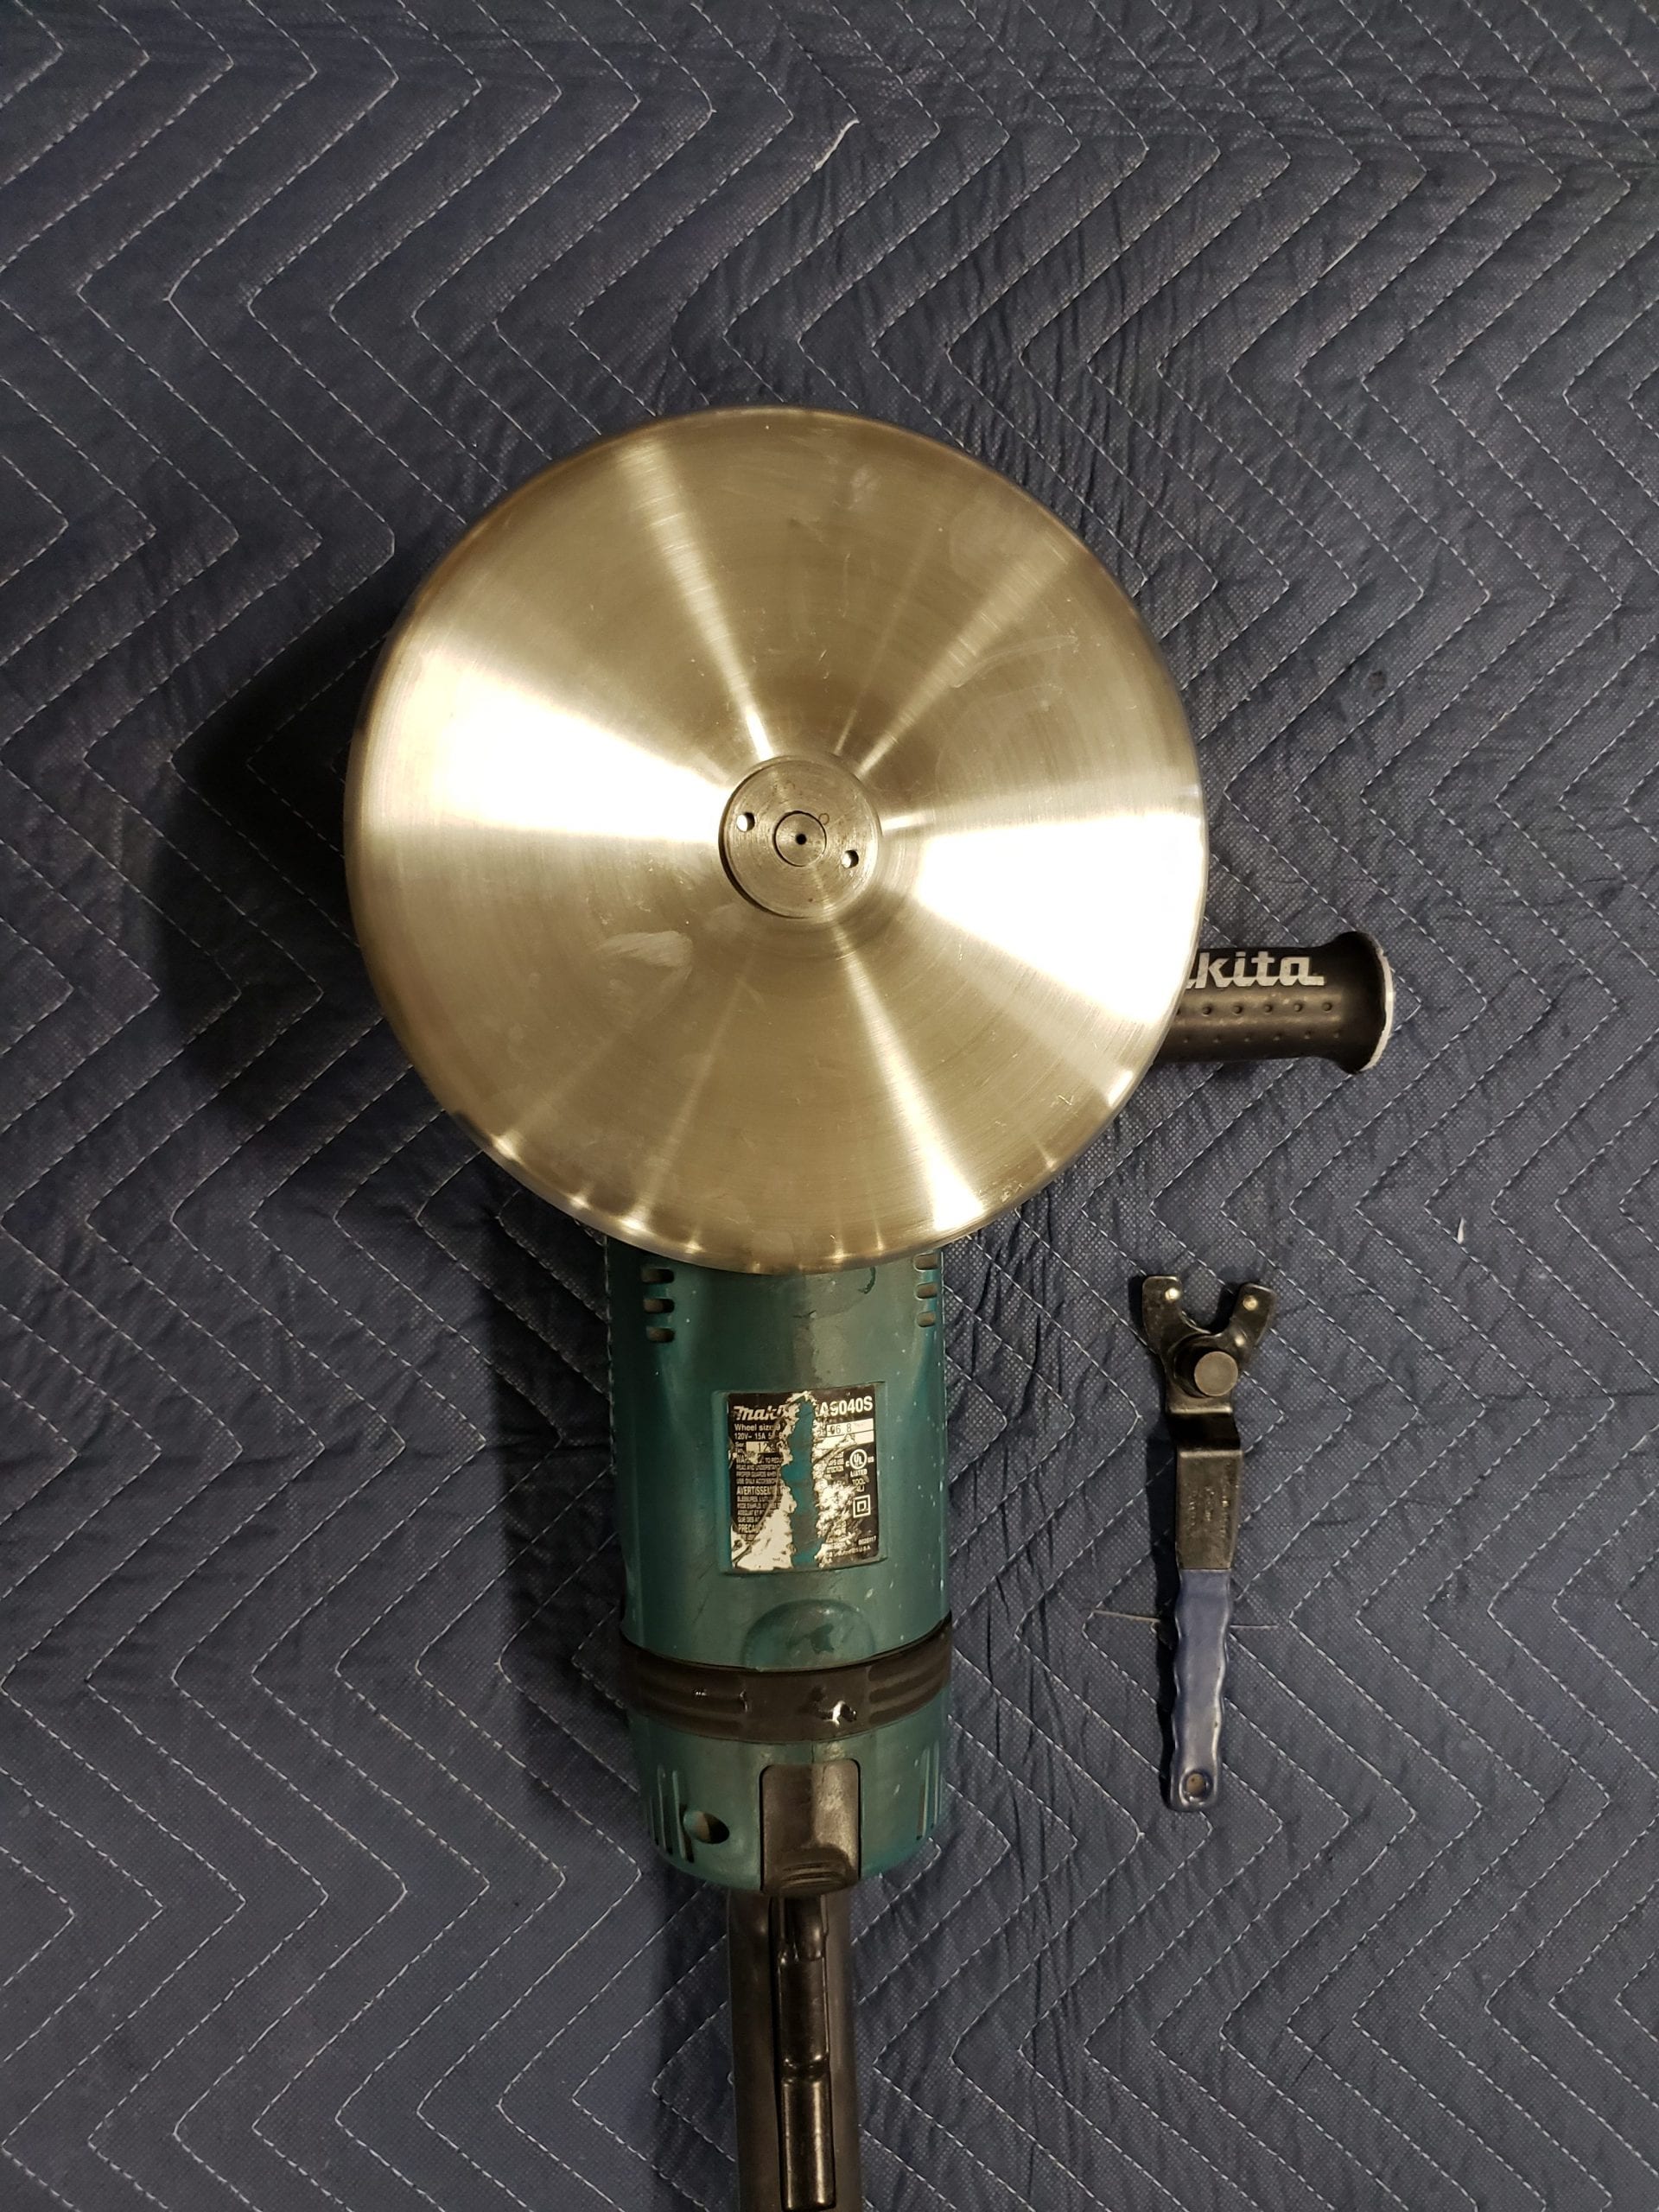
Place the 9″ shrinking disc on top with the rounded edge up.
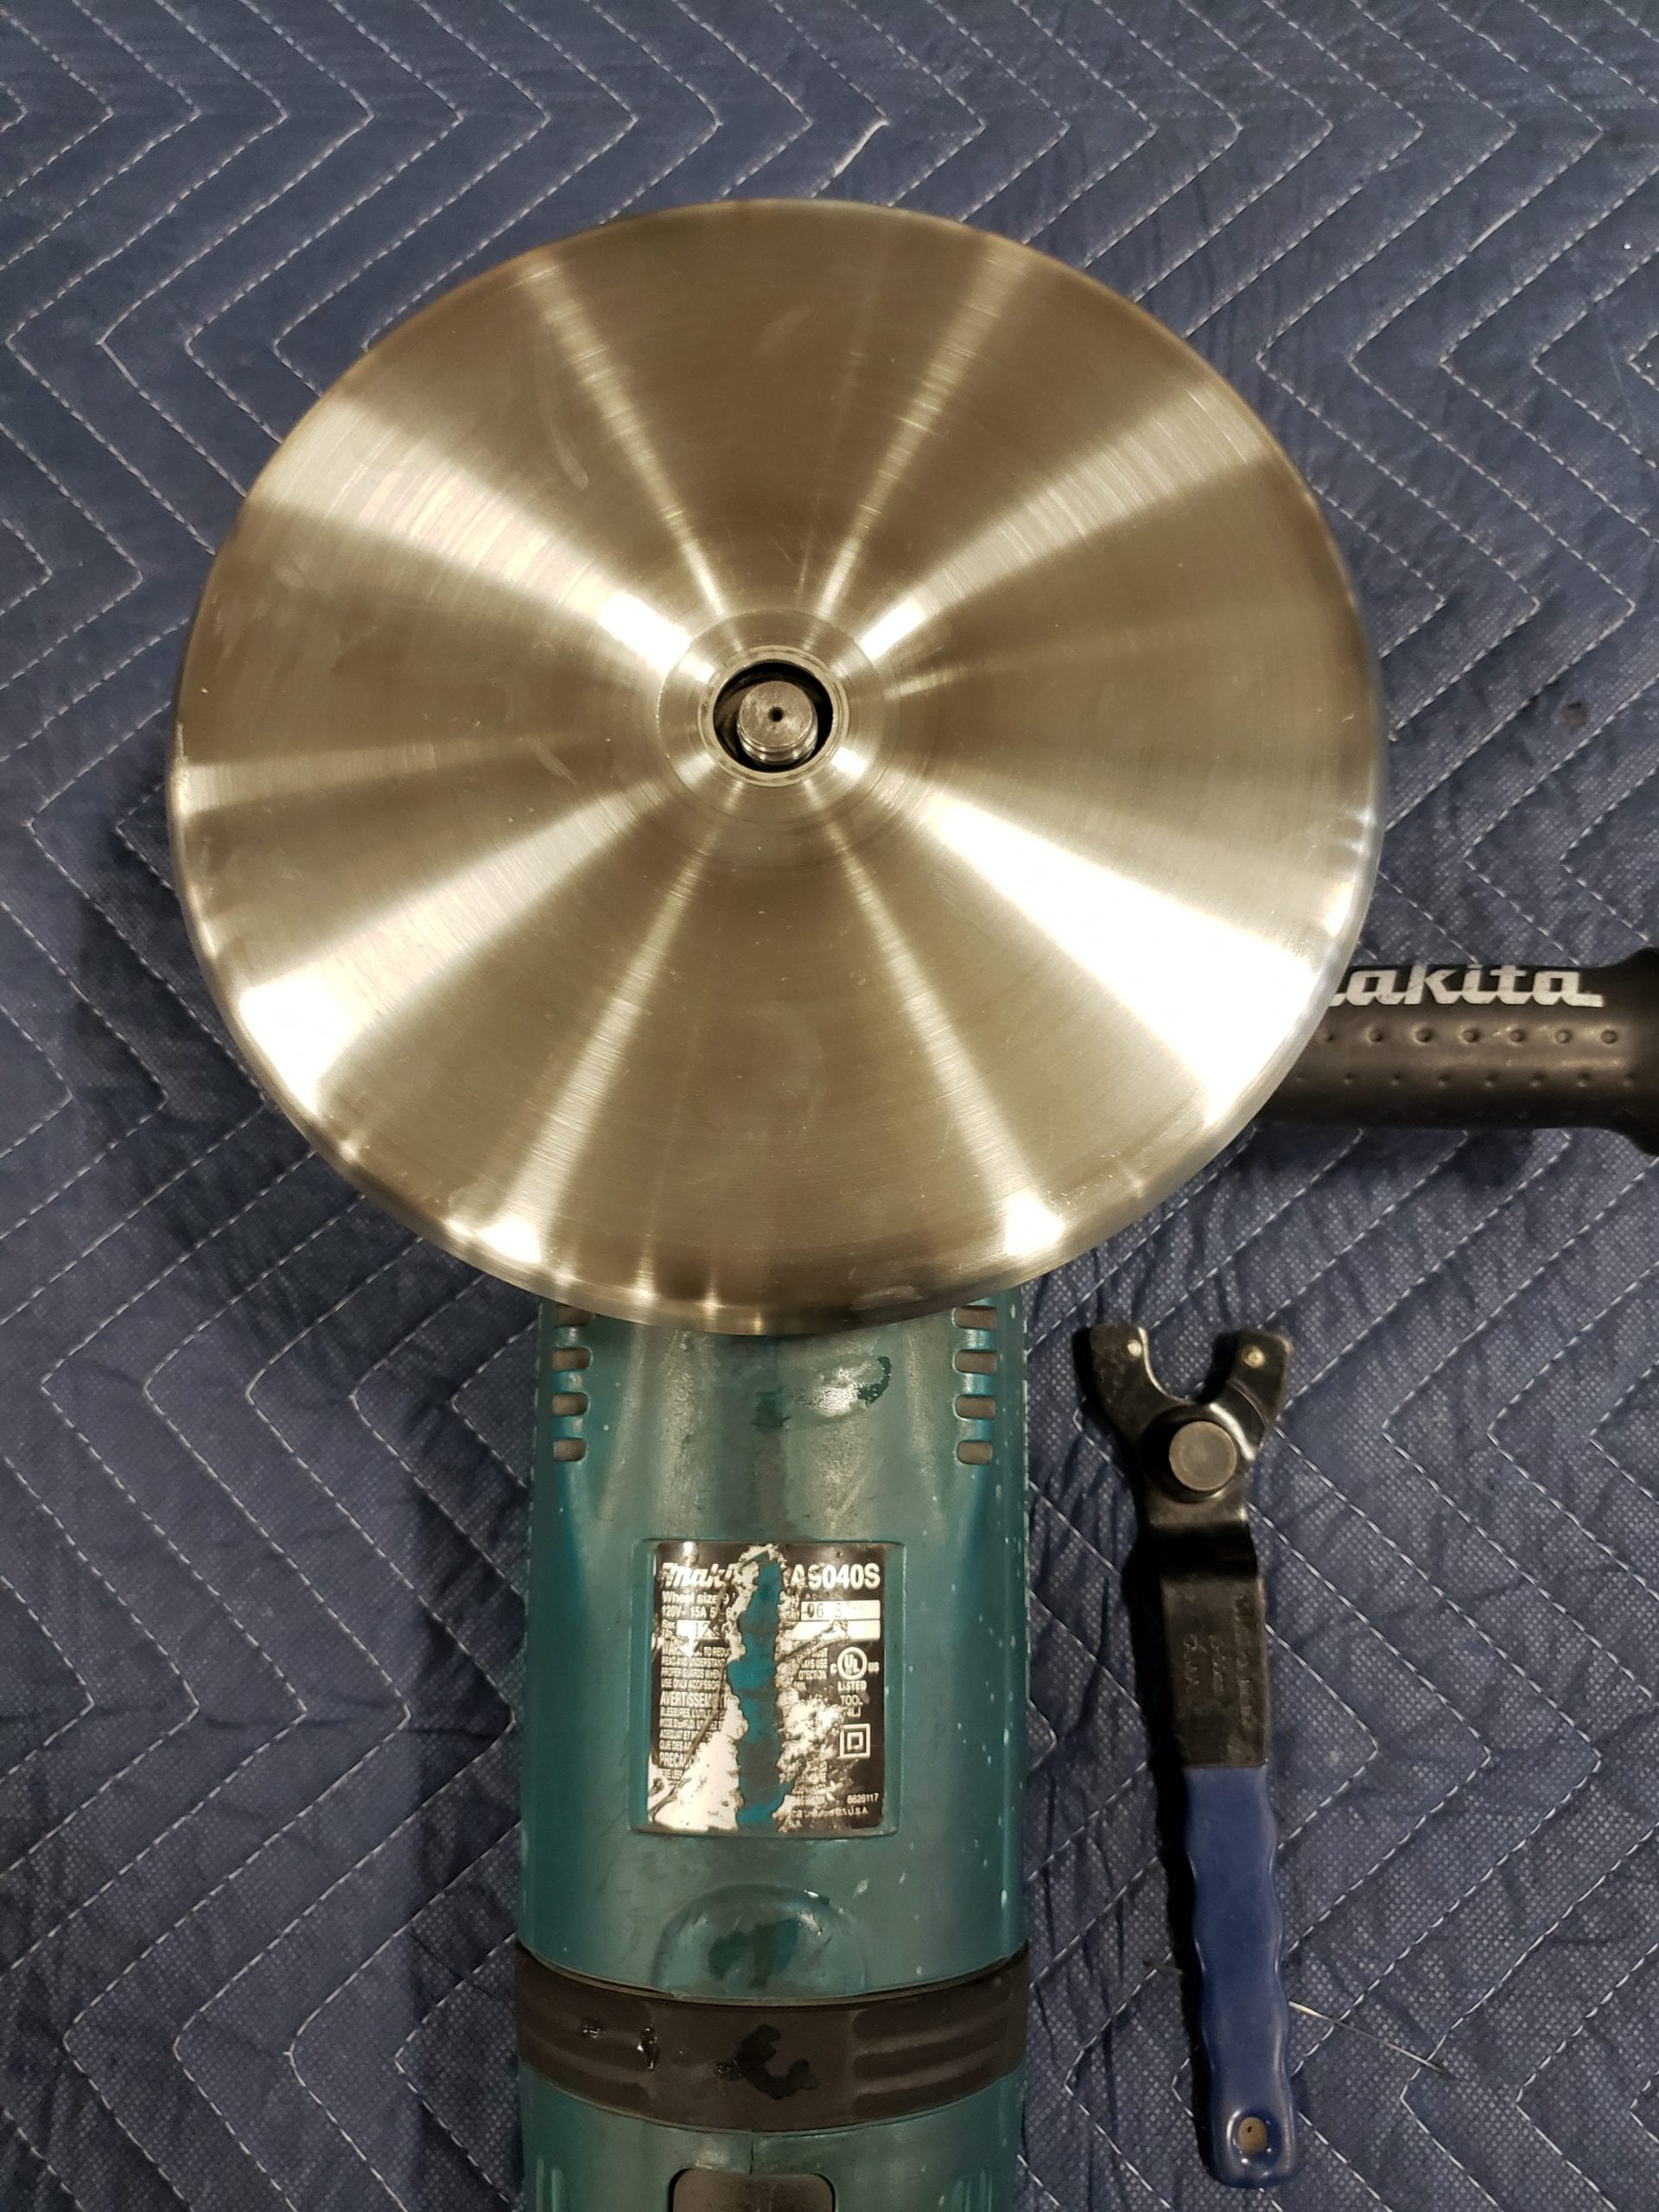
Screw on the flange neck nut (Make sure the nut and spindle are both below the working surface)
How to install your 5′ Shrinking Disc
Place the 2 washers on first
Put the backing pad on top of the washers
Place the shrinking disc with the rounded edge up
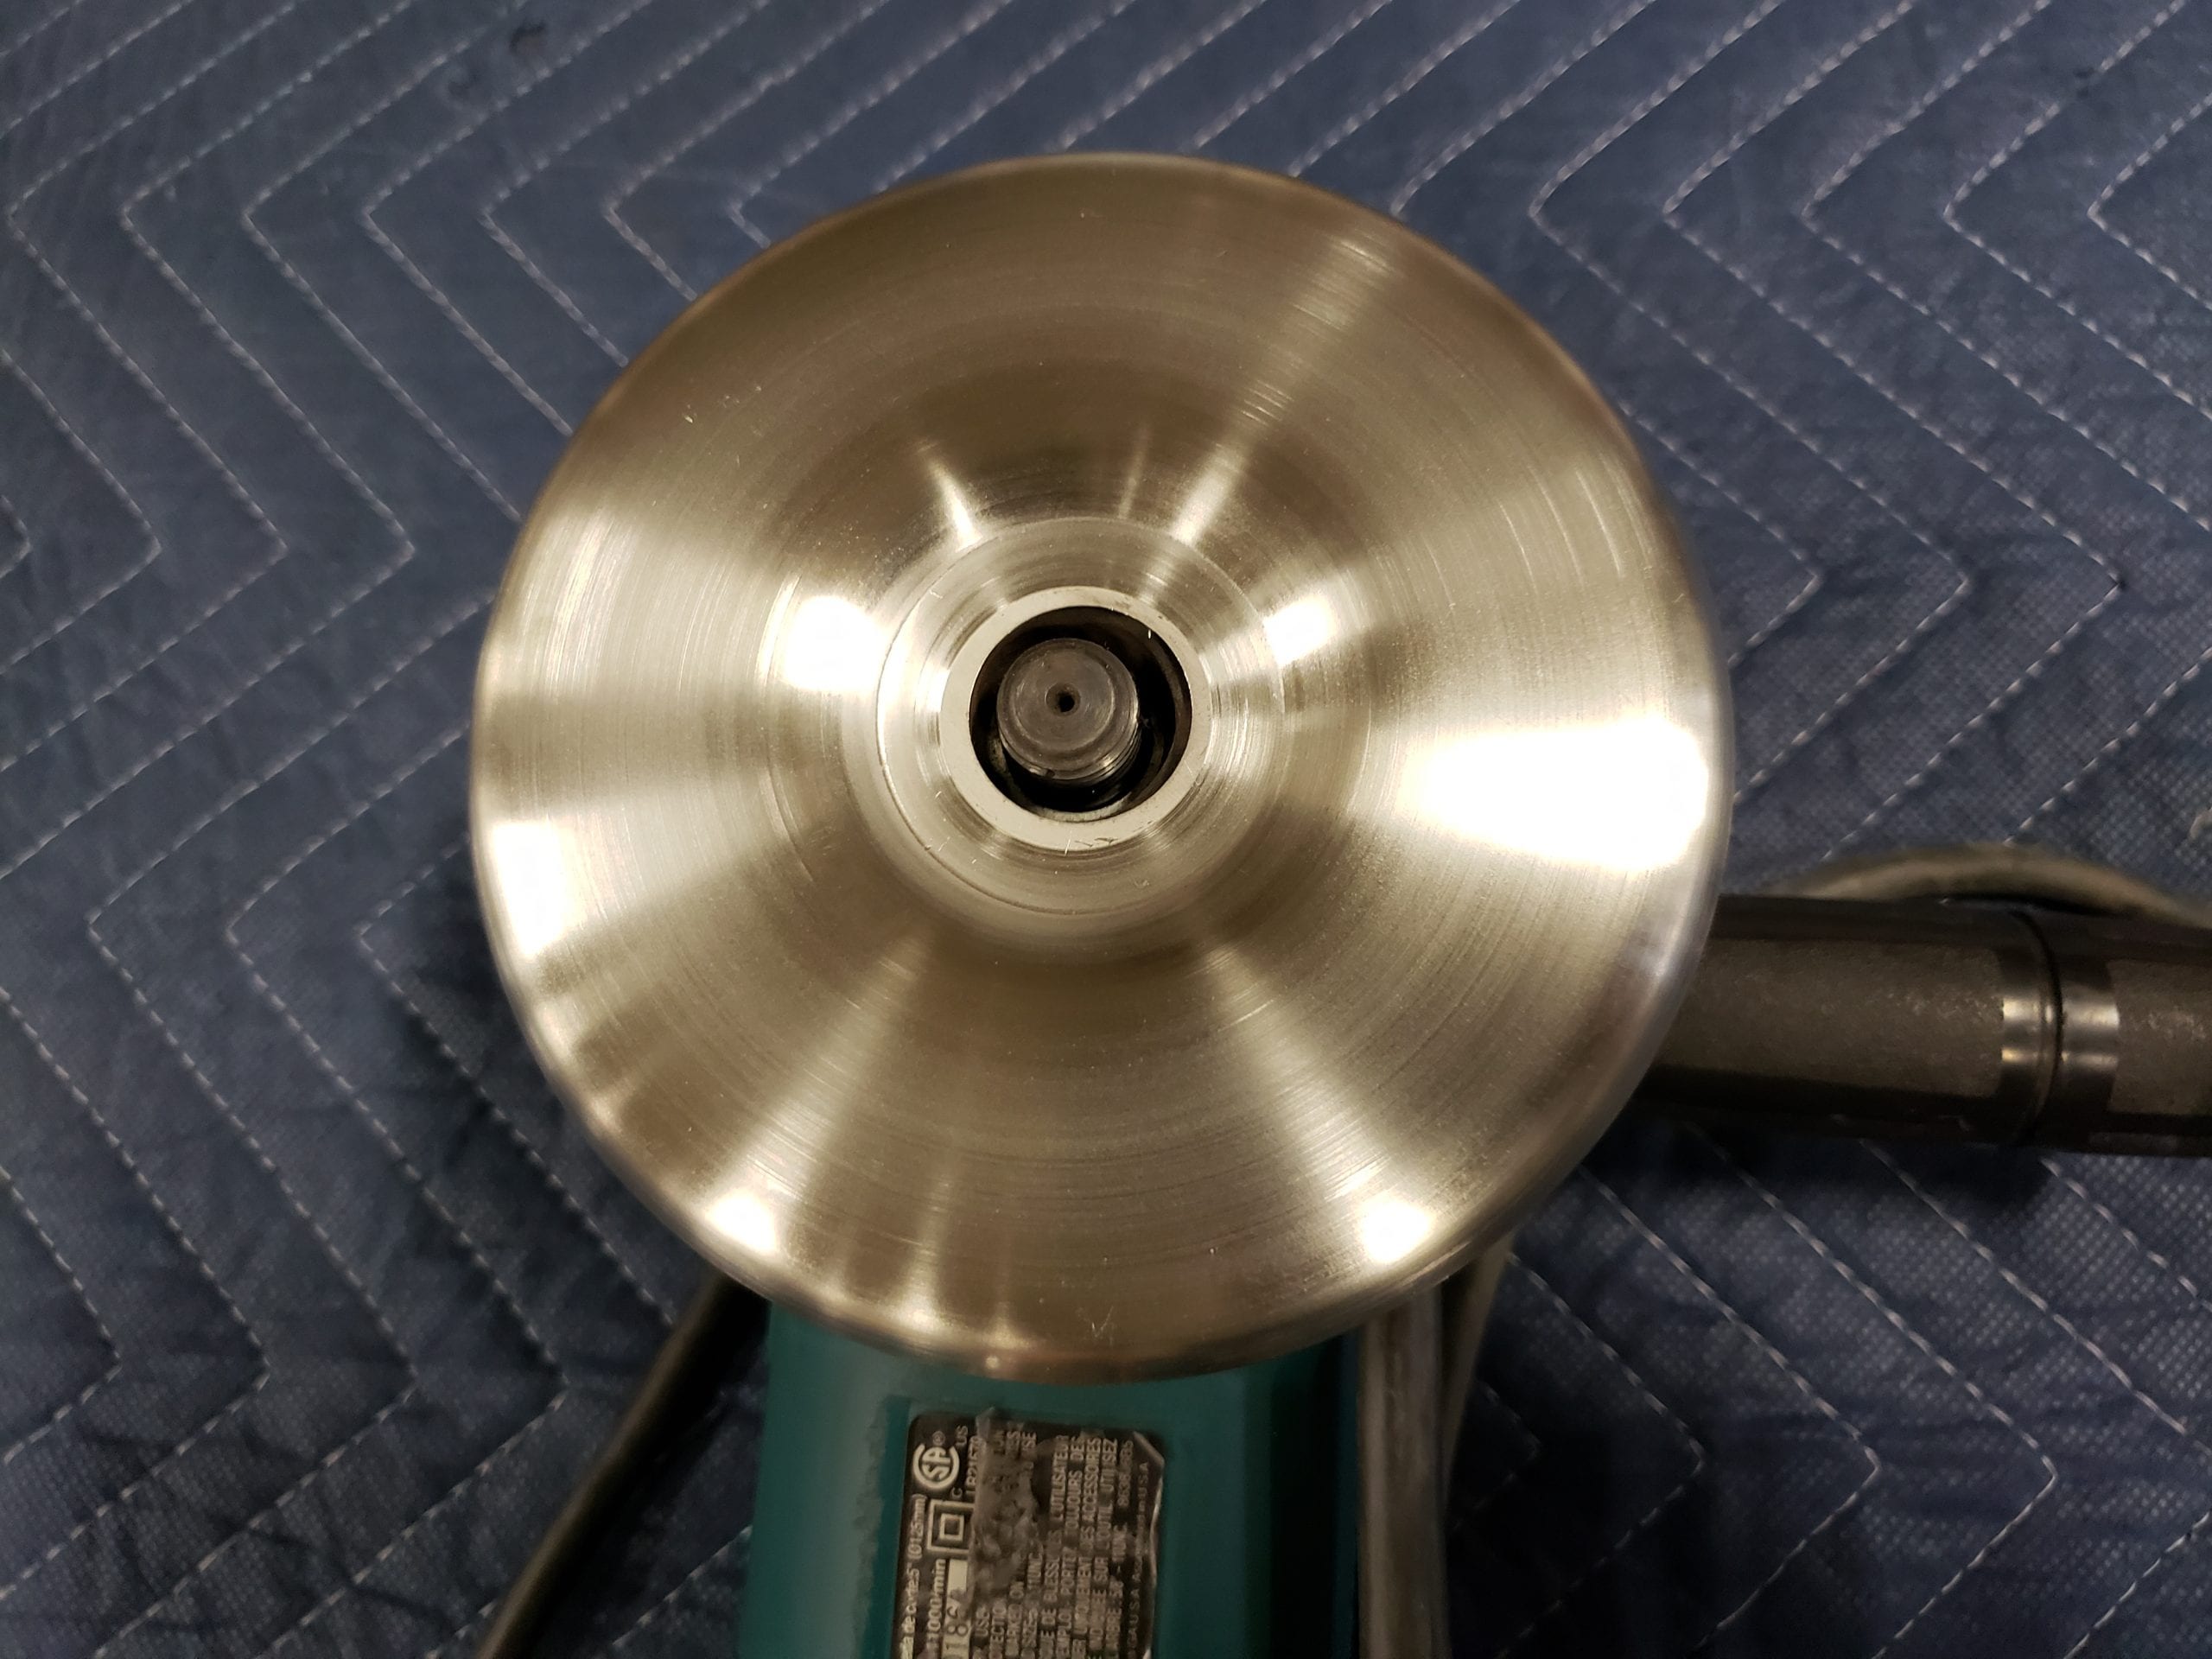
Screw on the flange neck nut (Make sure the nut and spindle are both below the working surface)
THANKS FOR YOUR SUPPORT!